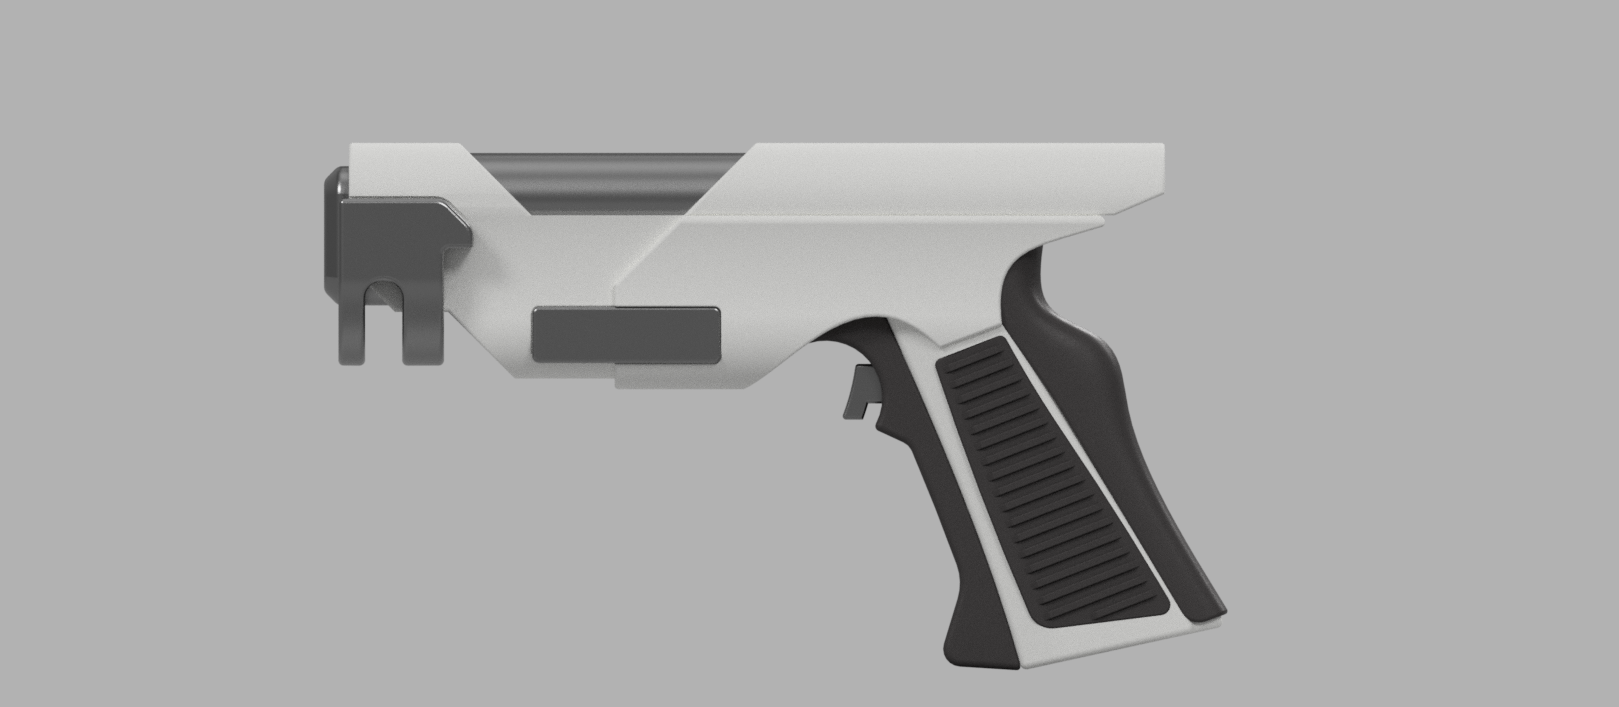
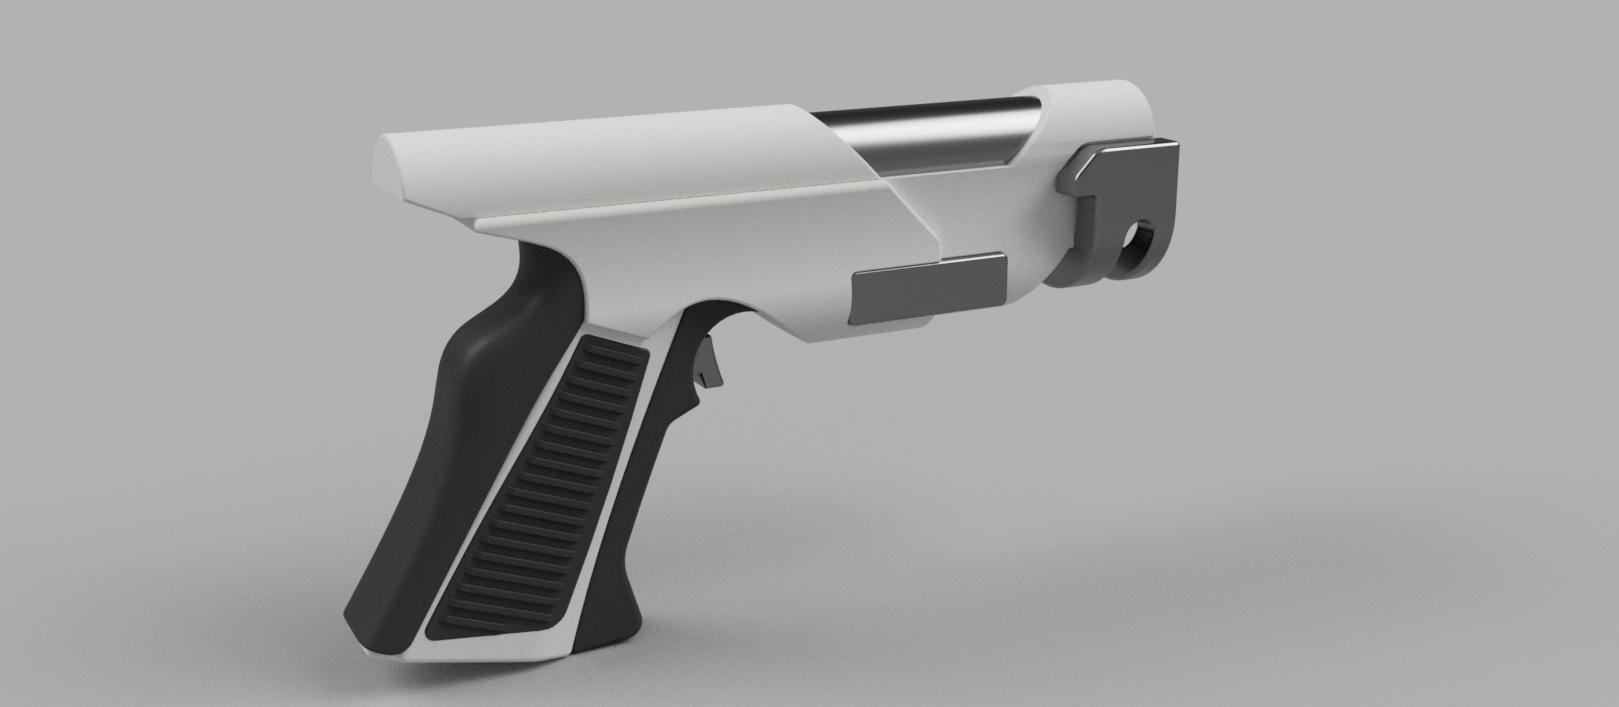
PM-32 gun from Orville Done
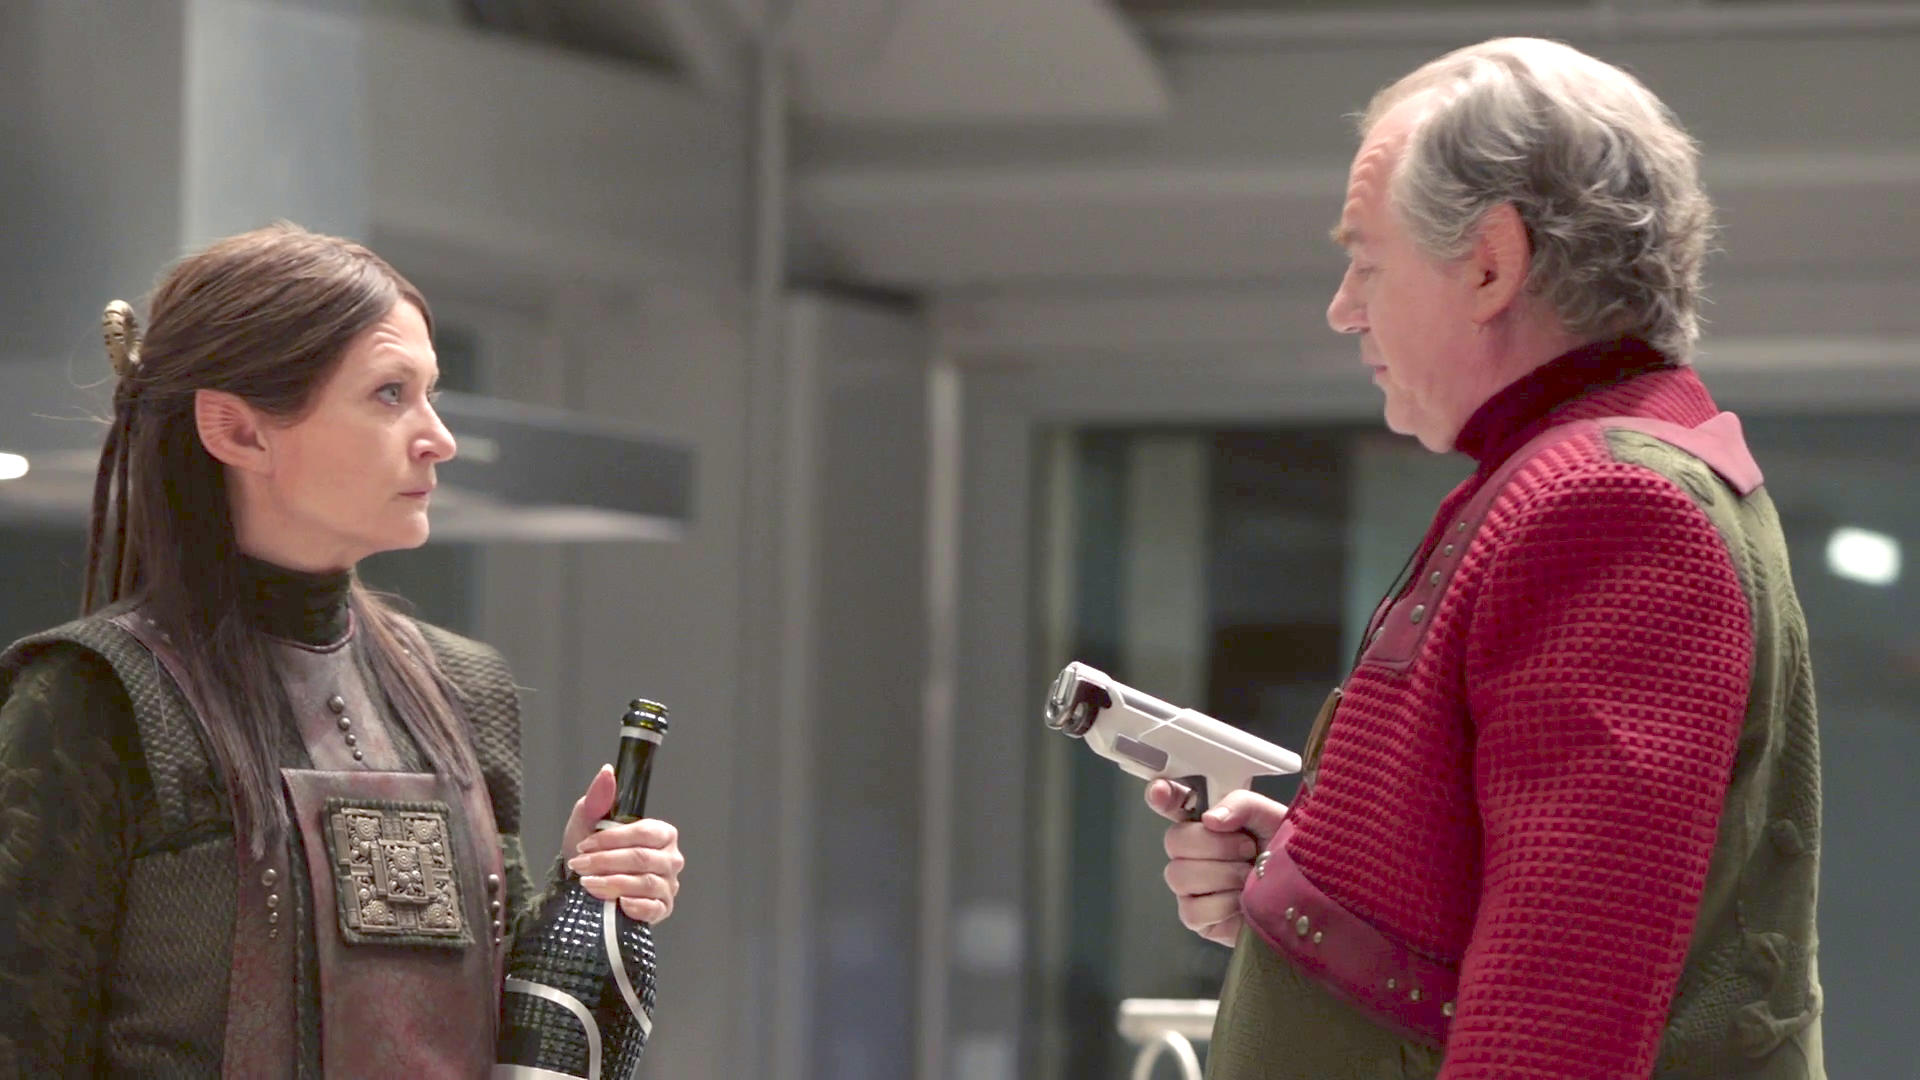
I am one of those who shares an opinion that The Orville tv show — is the better Star Trek than Discovery.
I liked it. I wanted to make a prop from the show. It was clear that the main banana-shaped blaster would become an obvious choice for many prop makers. To be a bit special I've chosen PM-32 gun. At the time when I started modelling there was no model done by anyone. So naturally, I've taken it upon myself as a challenge to model and make it from start to finish. As you can see "finish" hasn't come just yet. Soon.
Files can be found over here - https://cults3d.com/en/3d-model/art/pm-32-blaster-from-the-orville

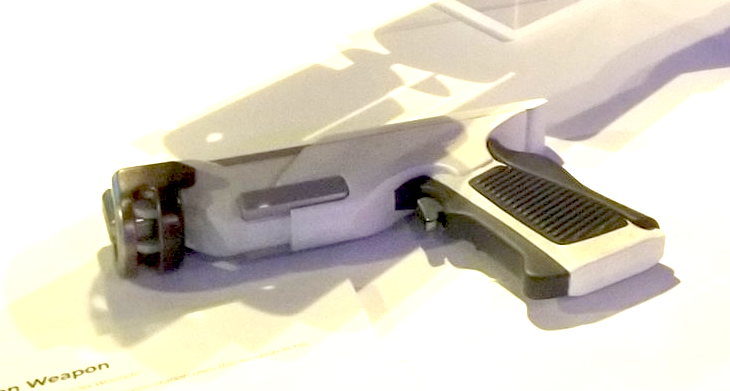
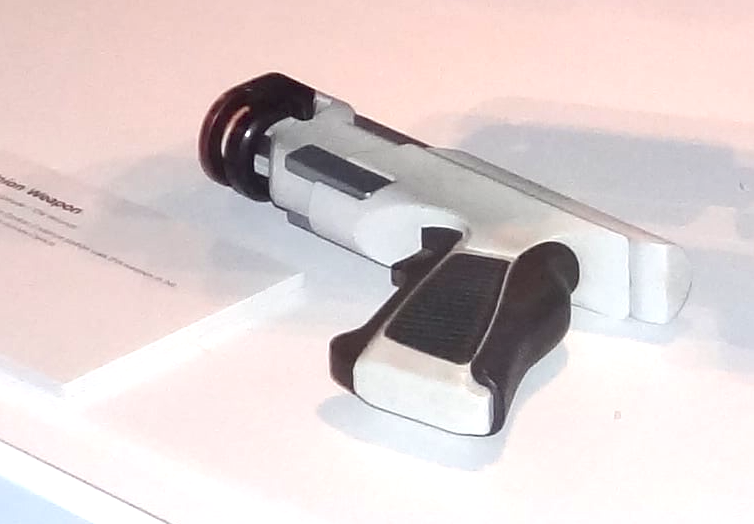
References
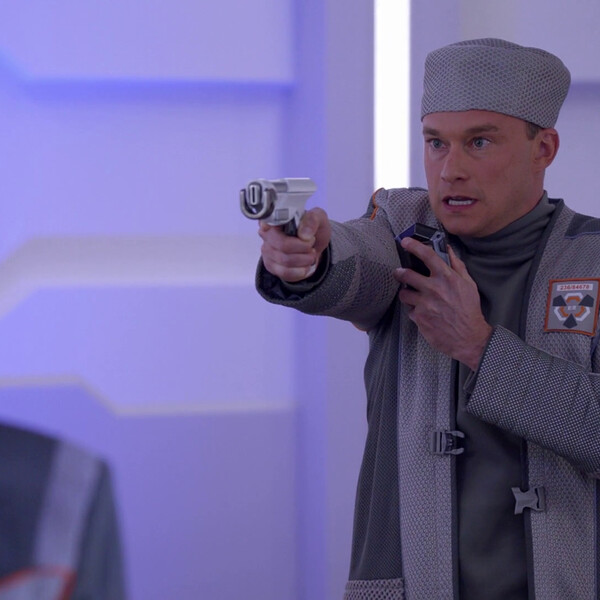
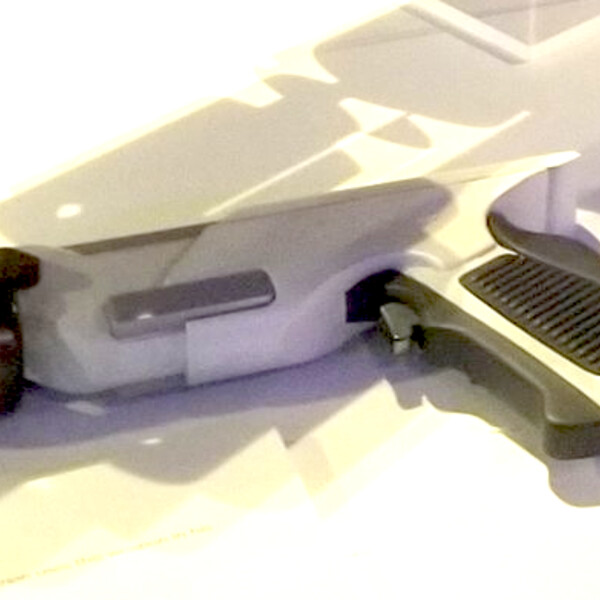
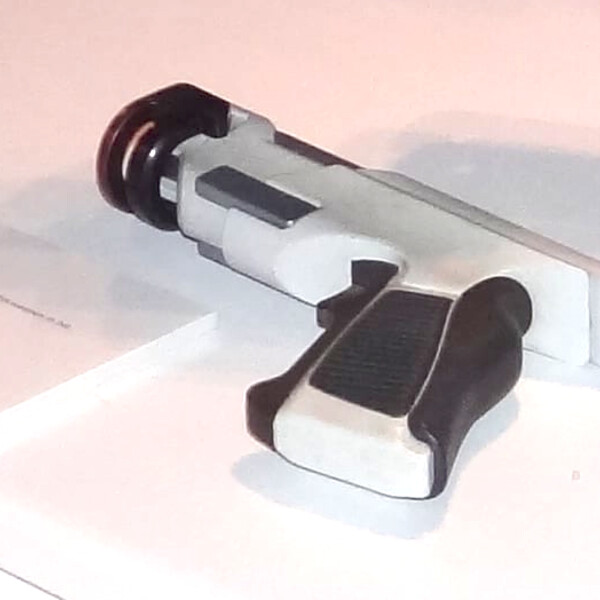
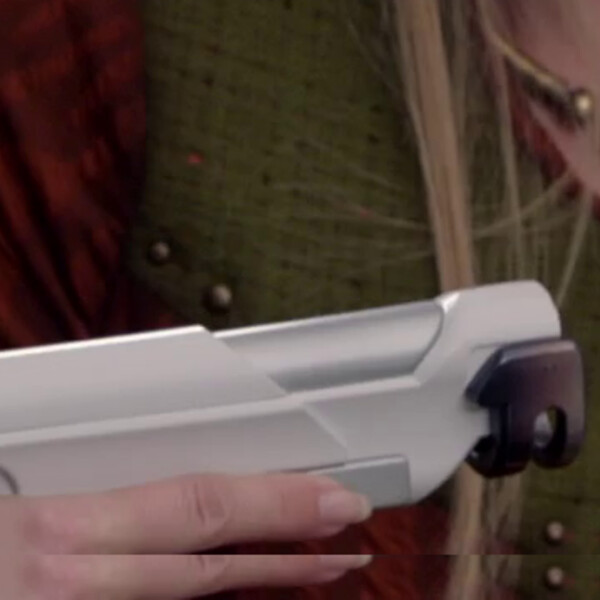
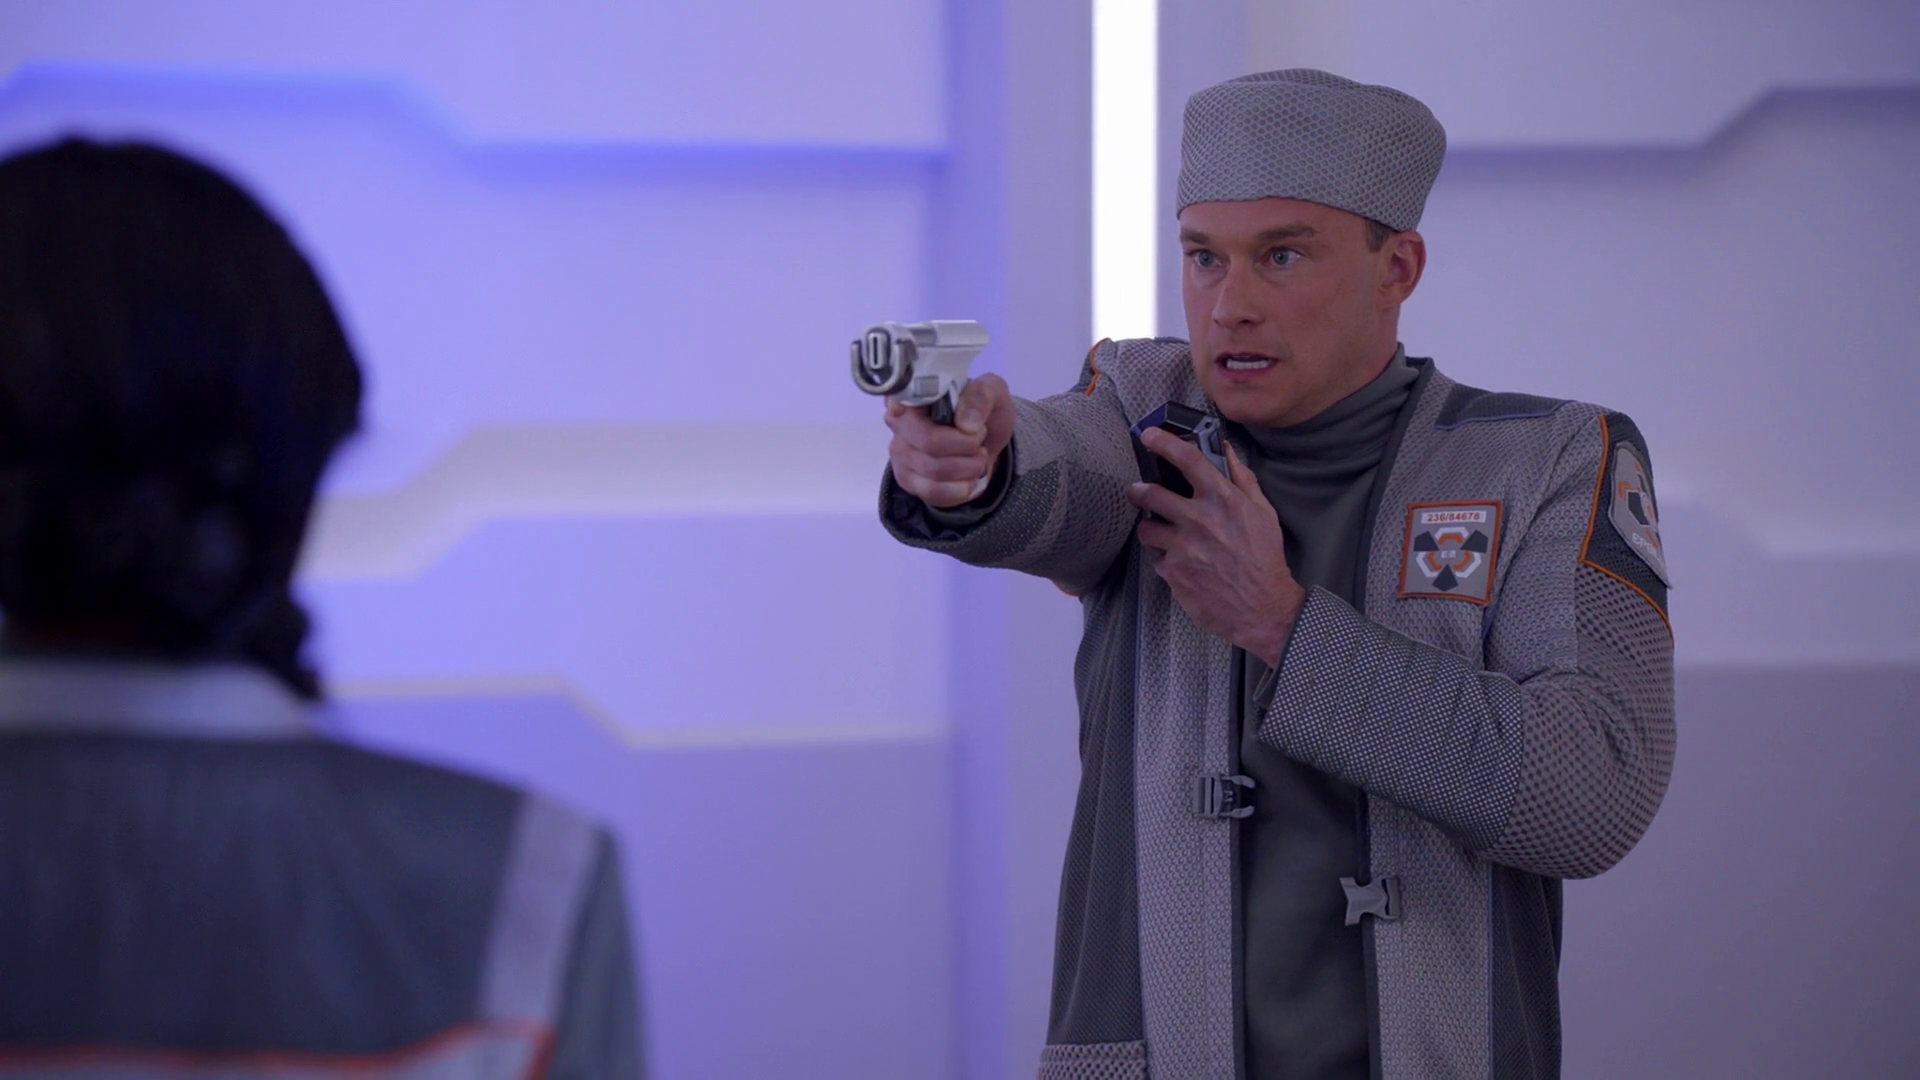
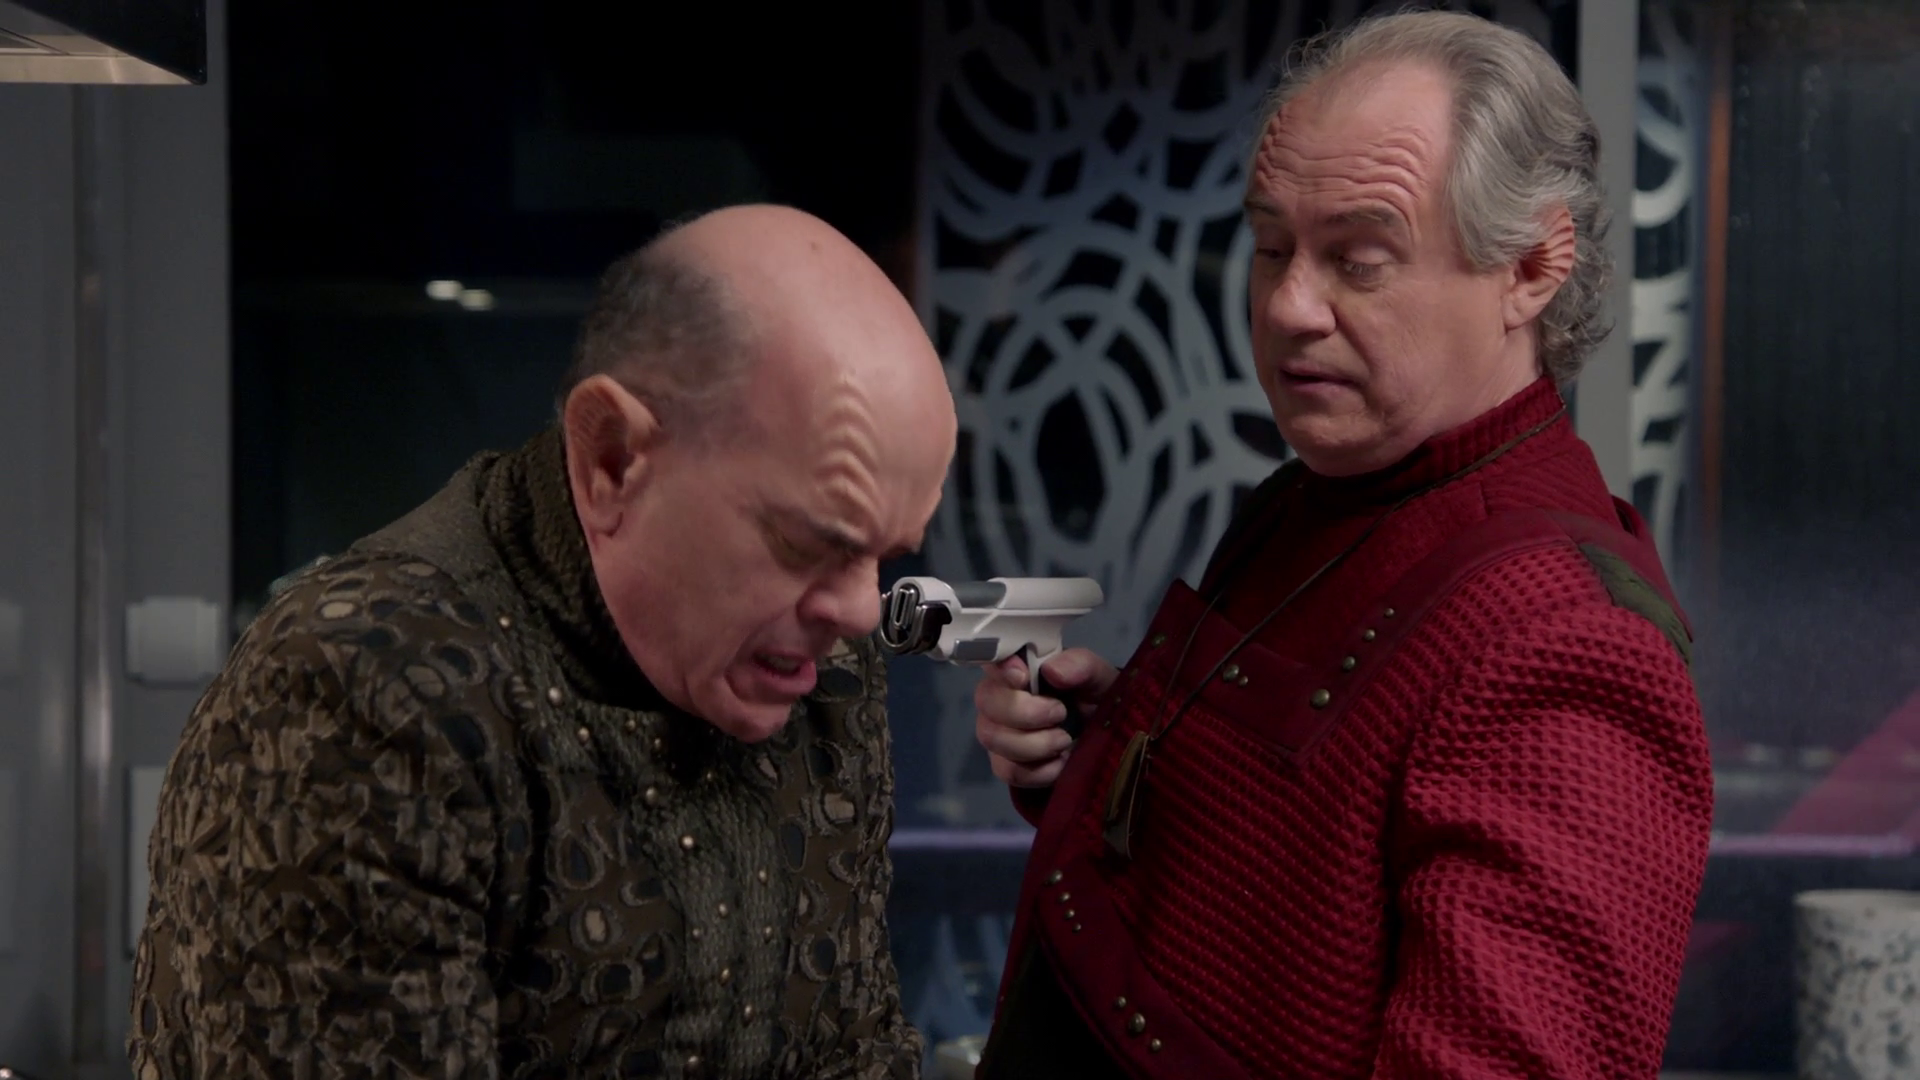
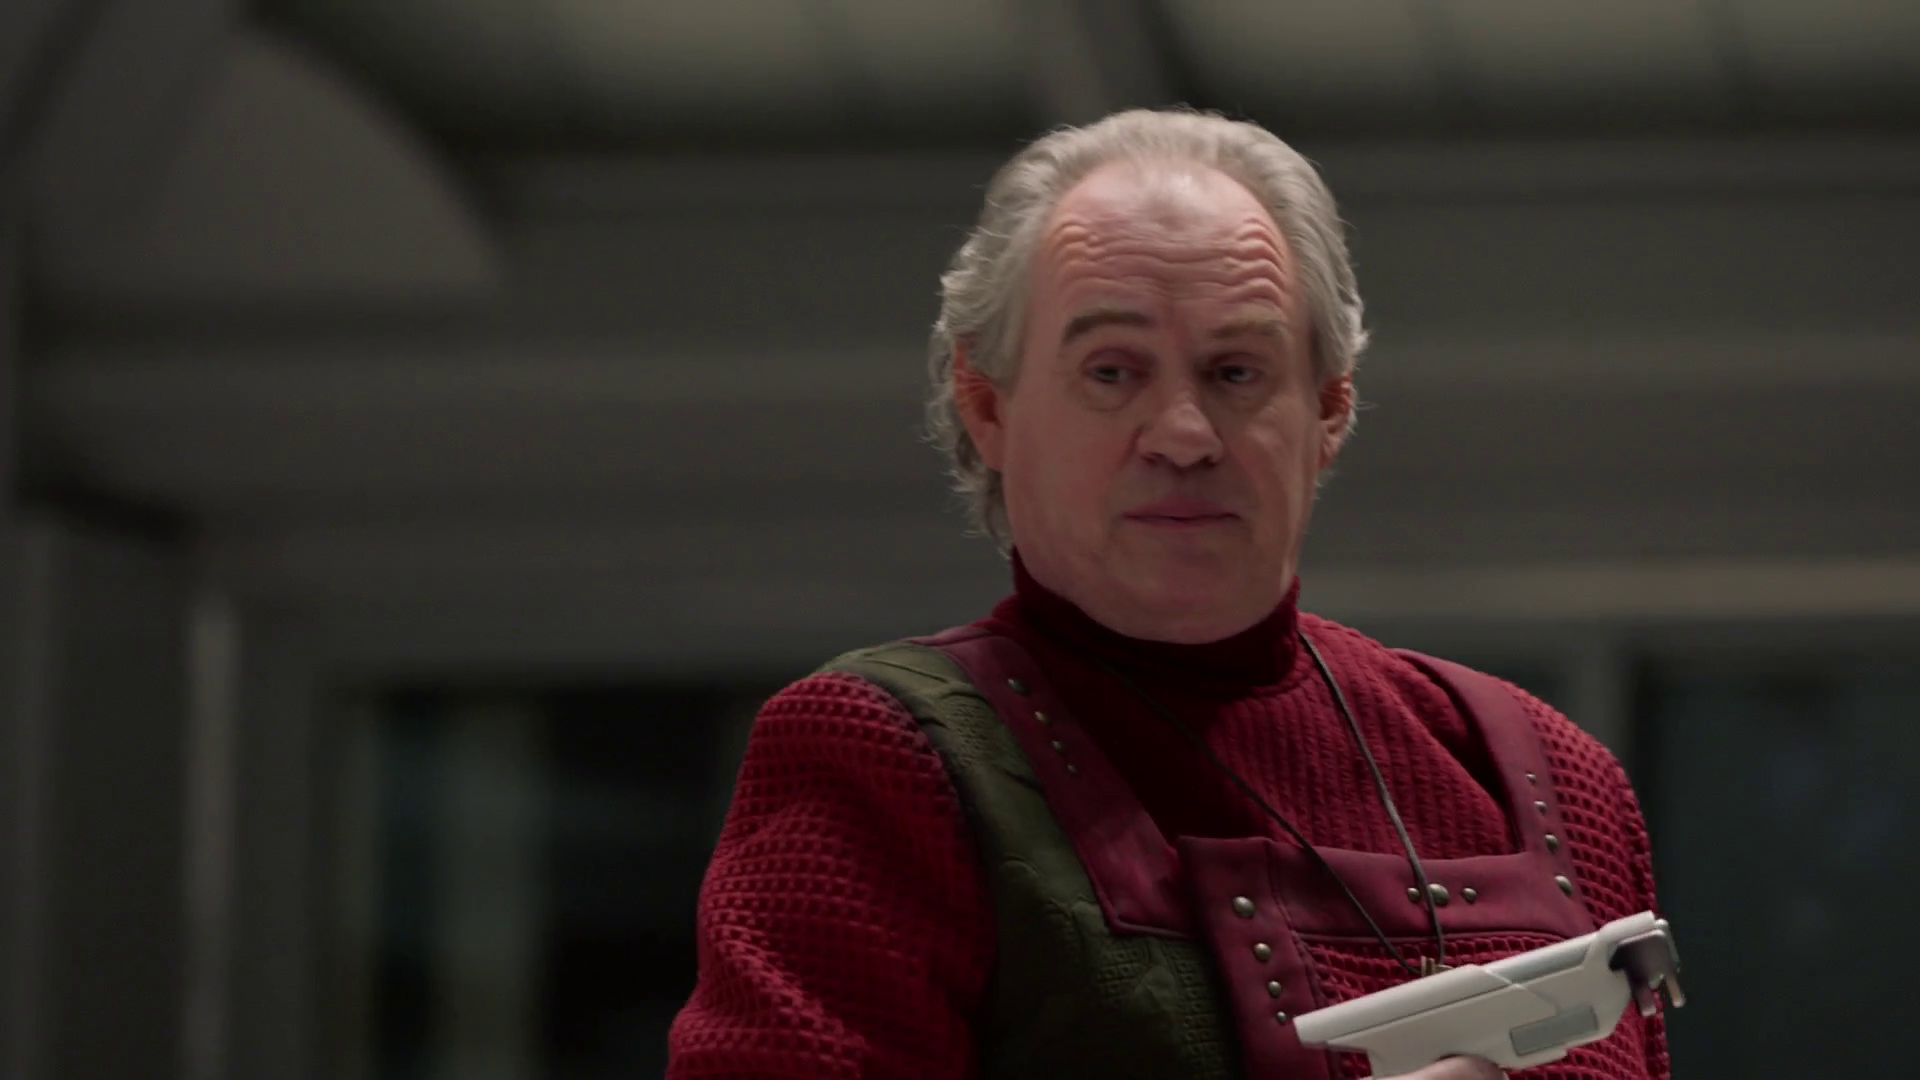
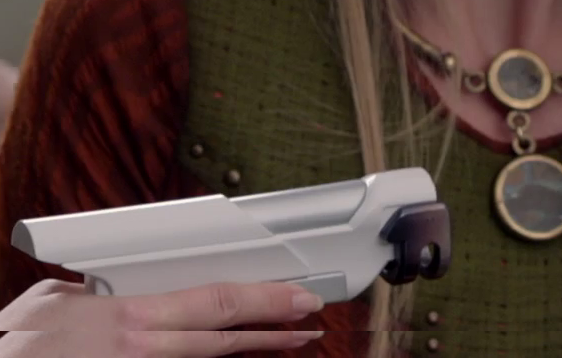
There were good frames with the gun being in almost perfect side view and some with front view, so I am certain I end up with appropriate scale.
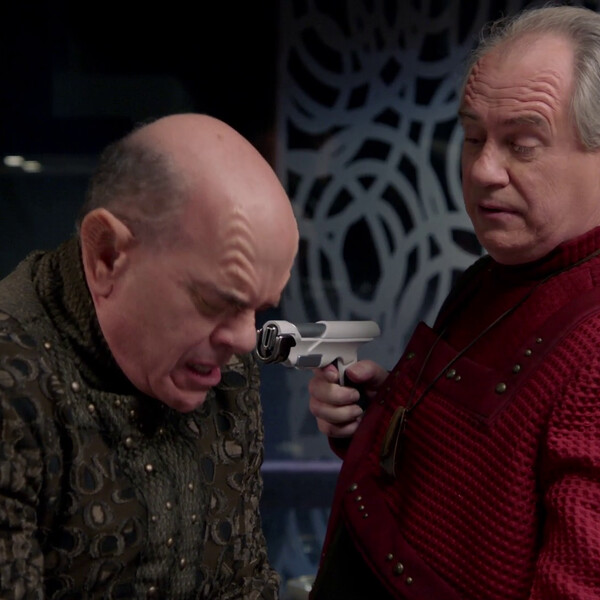
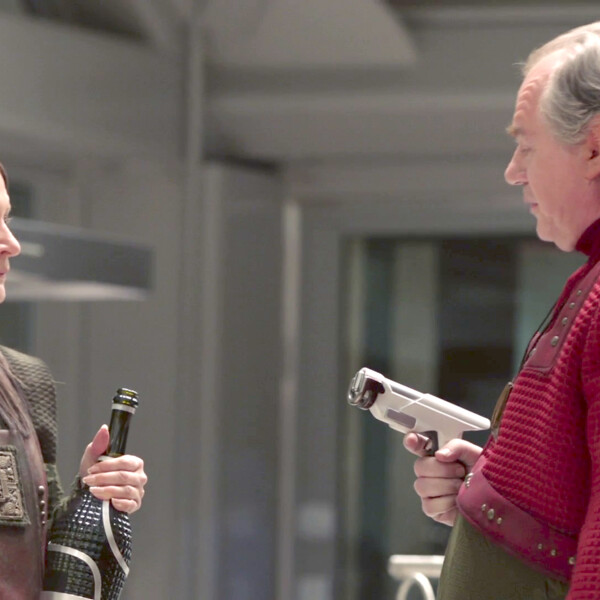
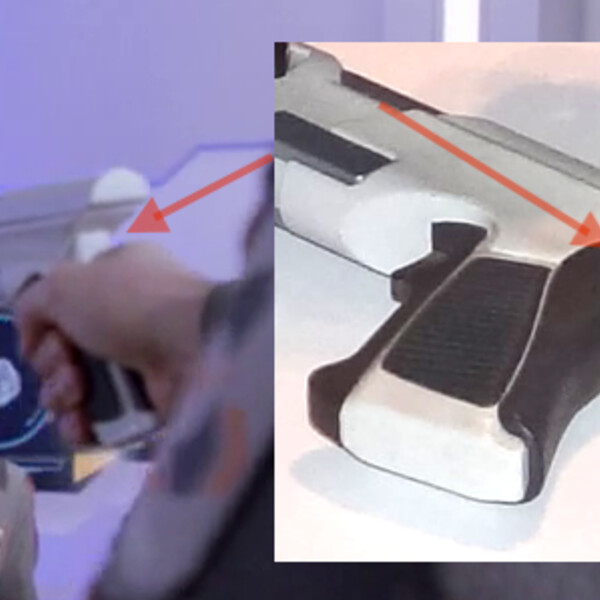
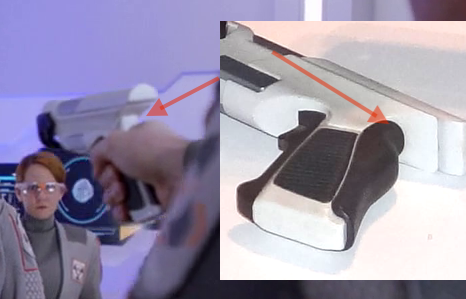
Said that as in many cases in movies there were different versions of it. See the photo below with two red arrows.
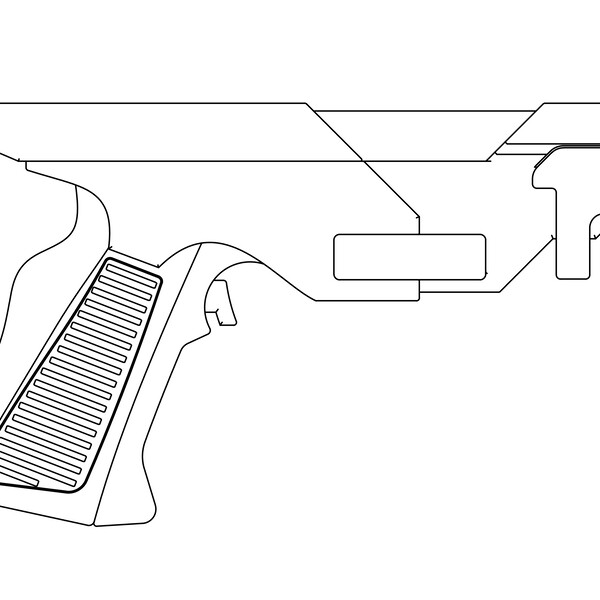
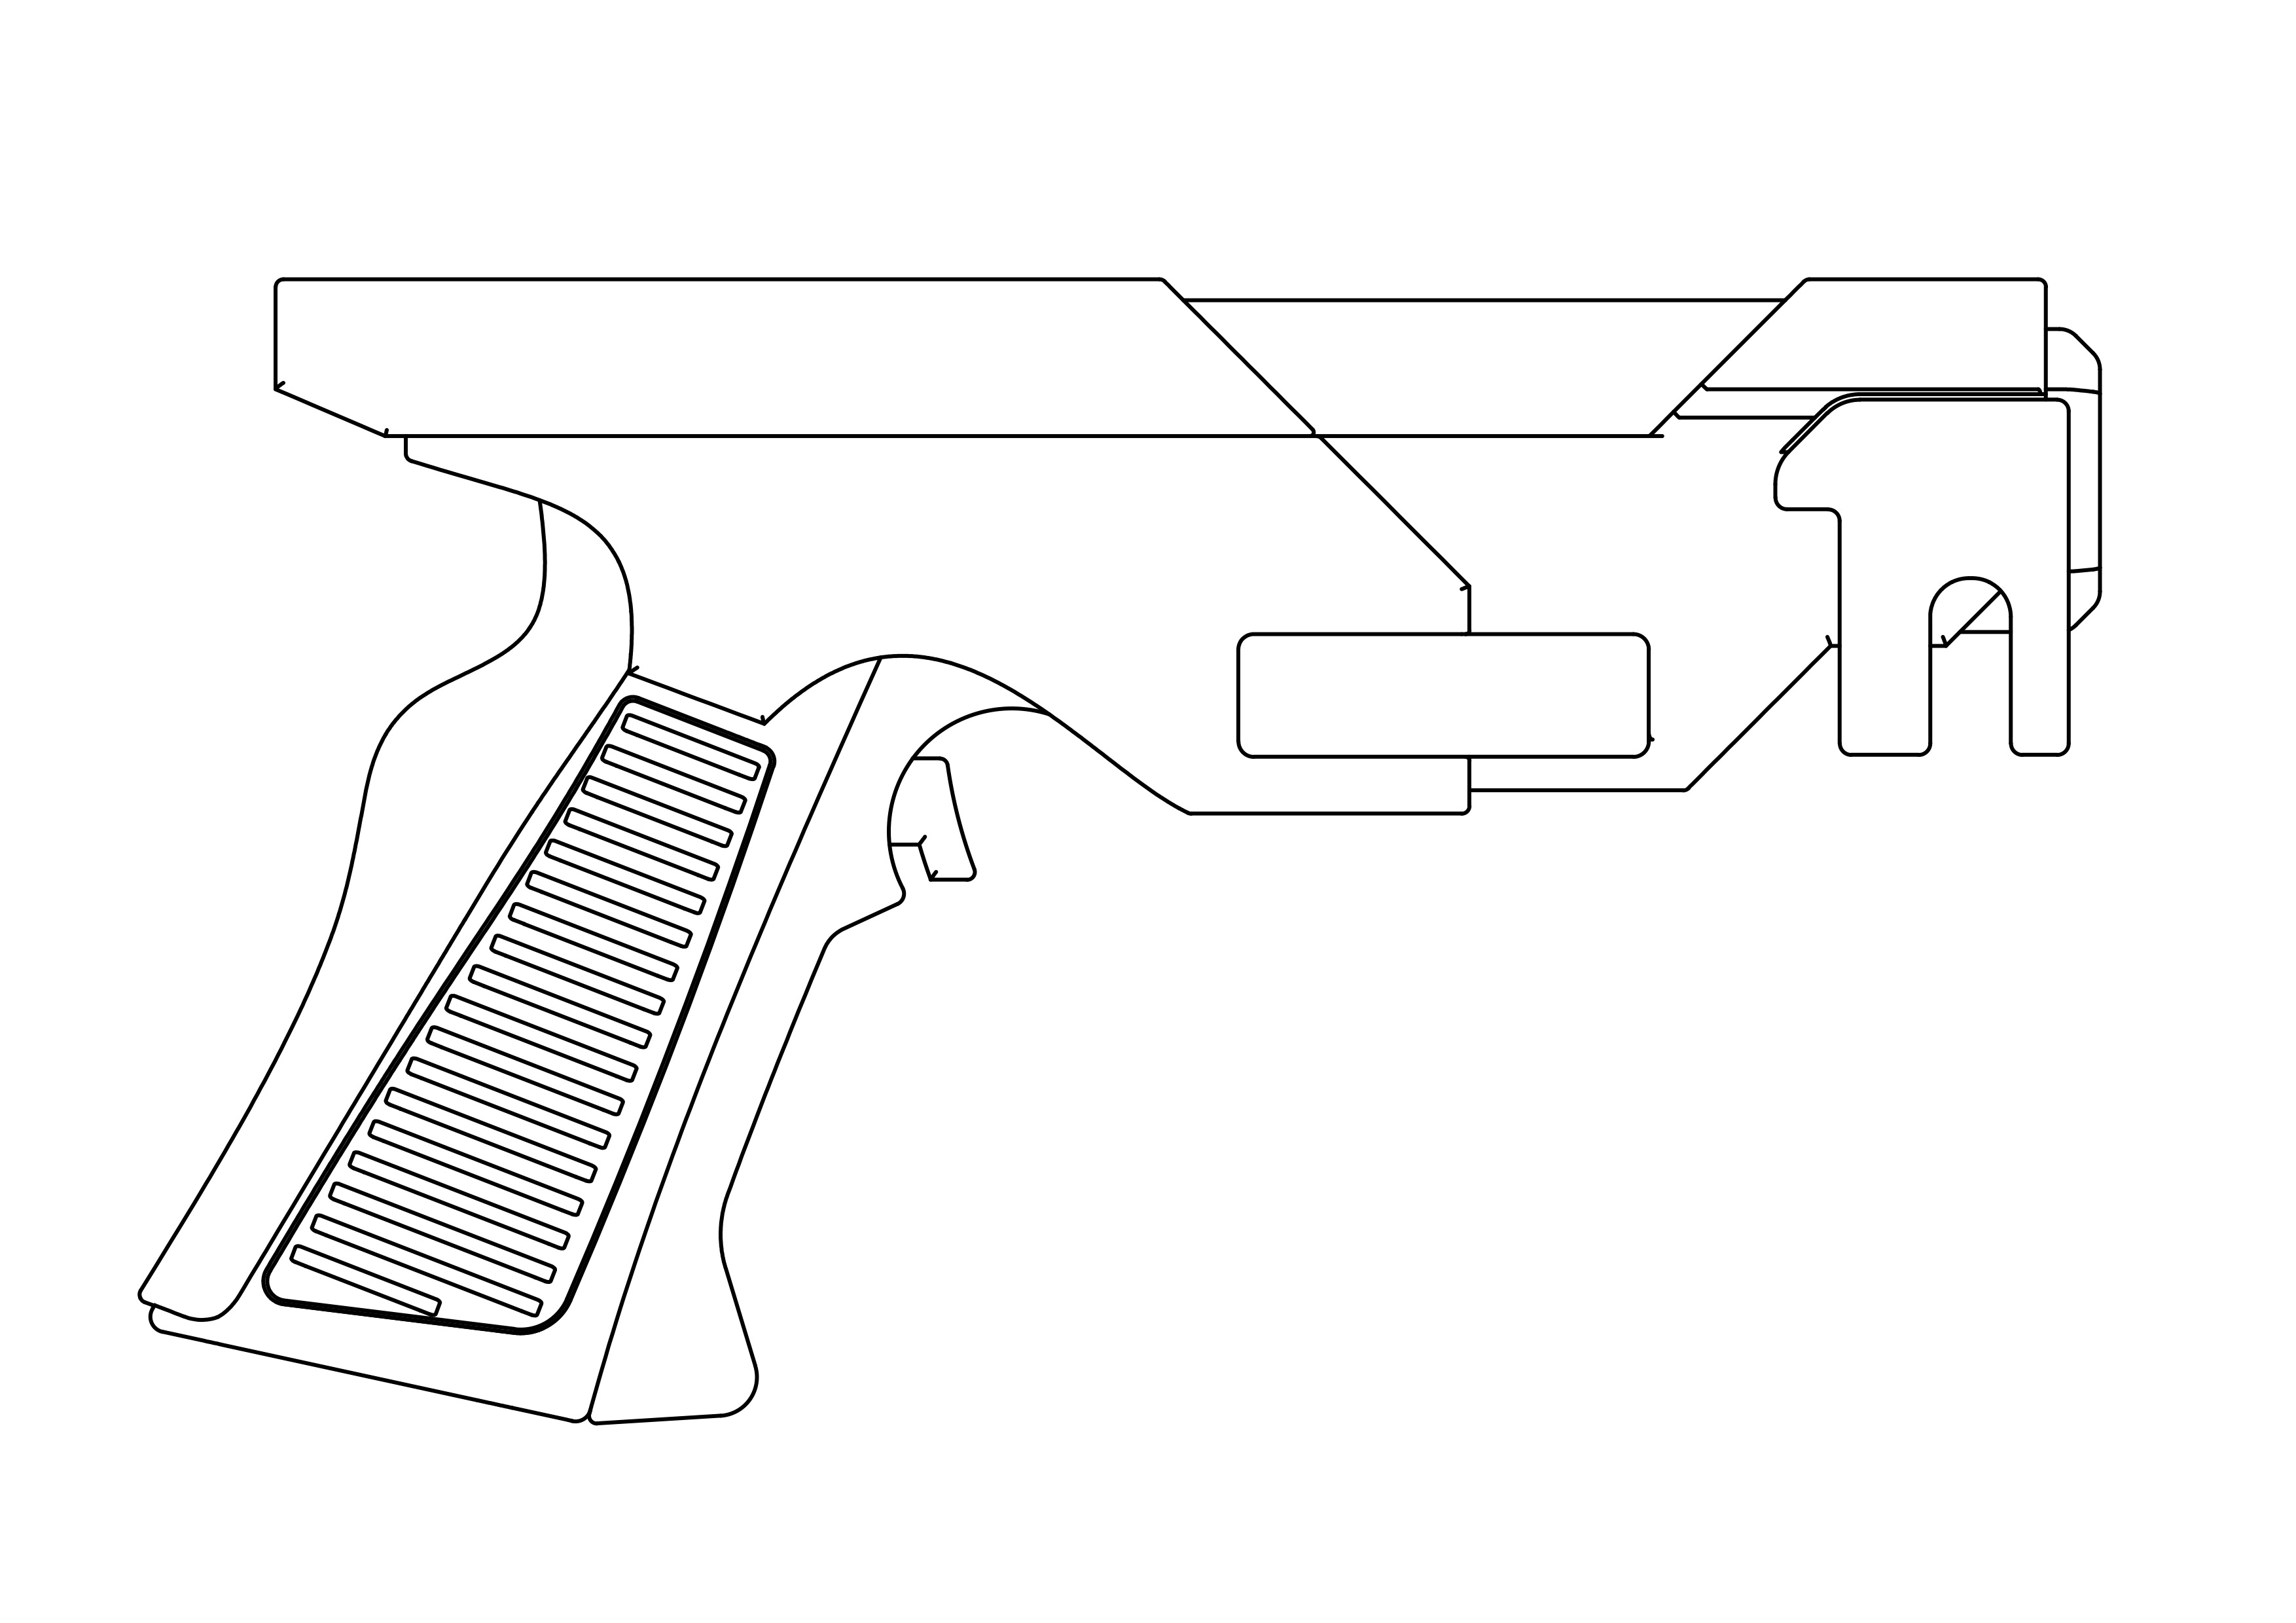
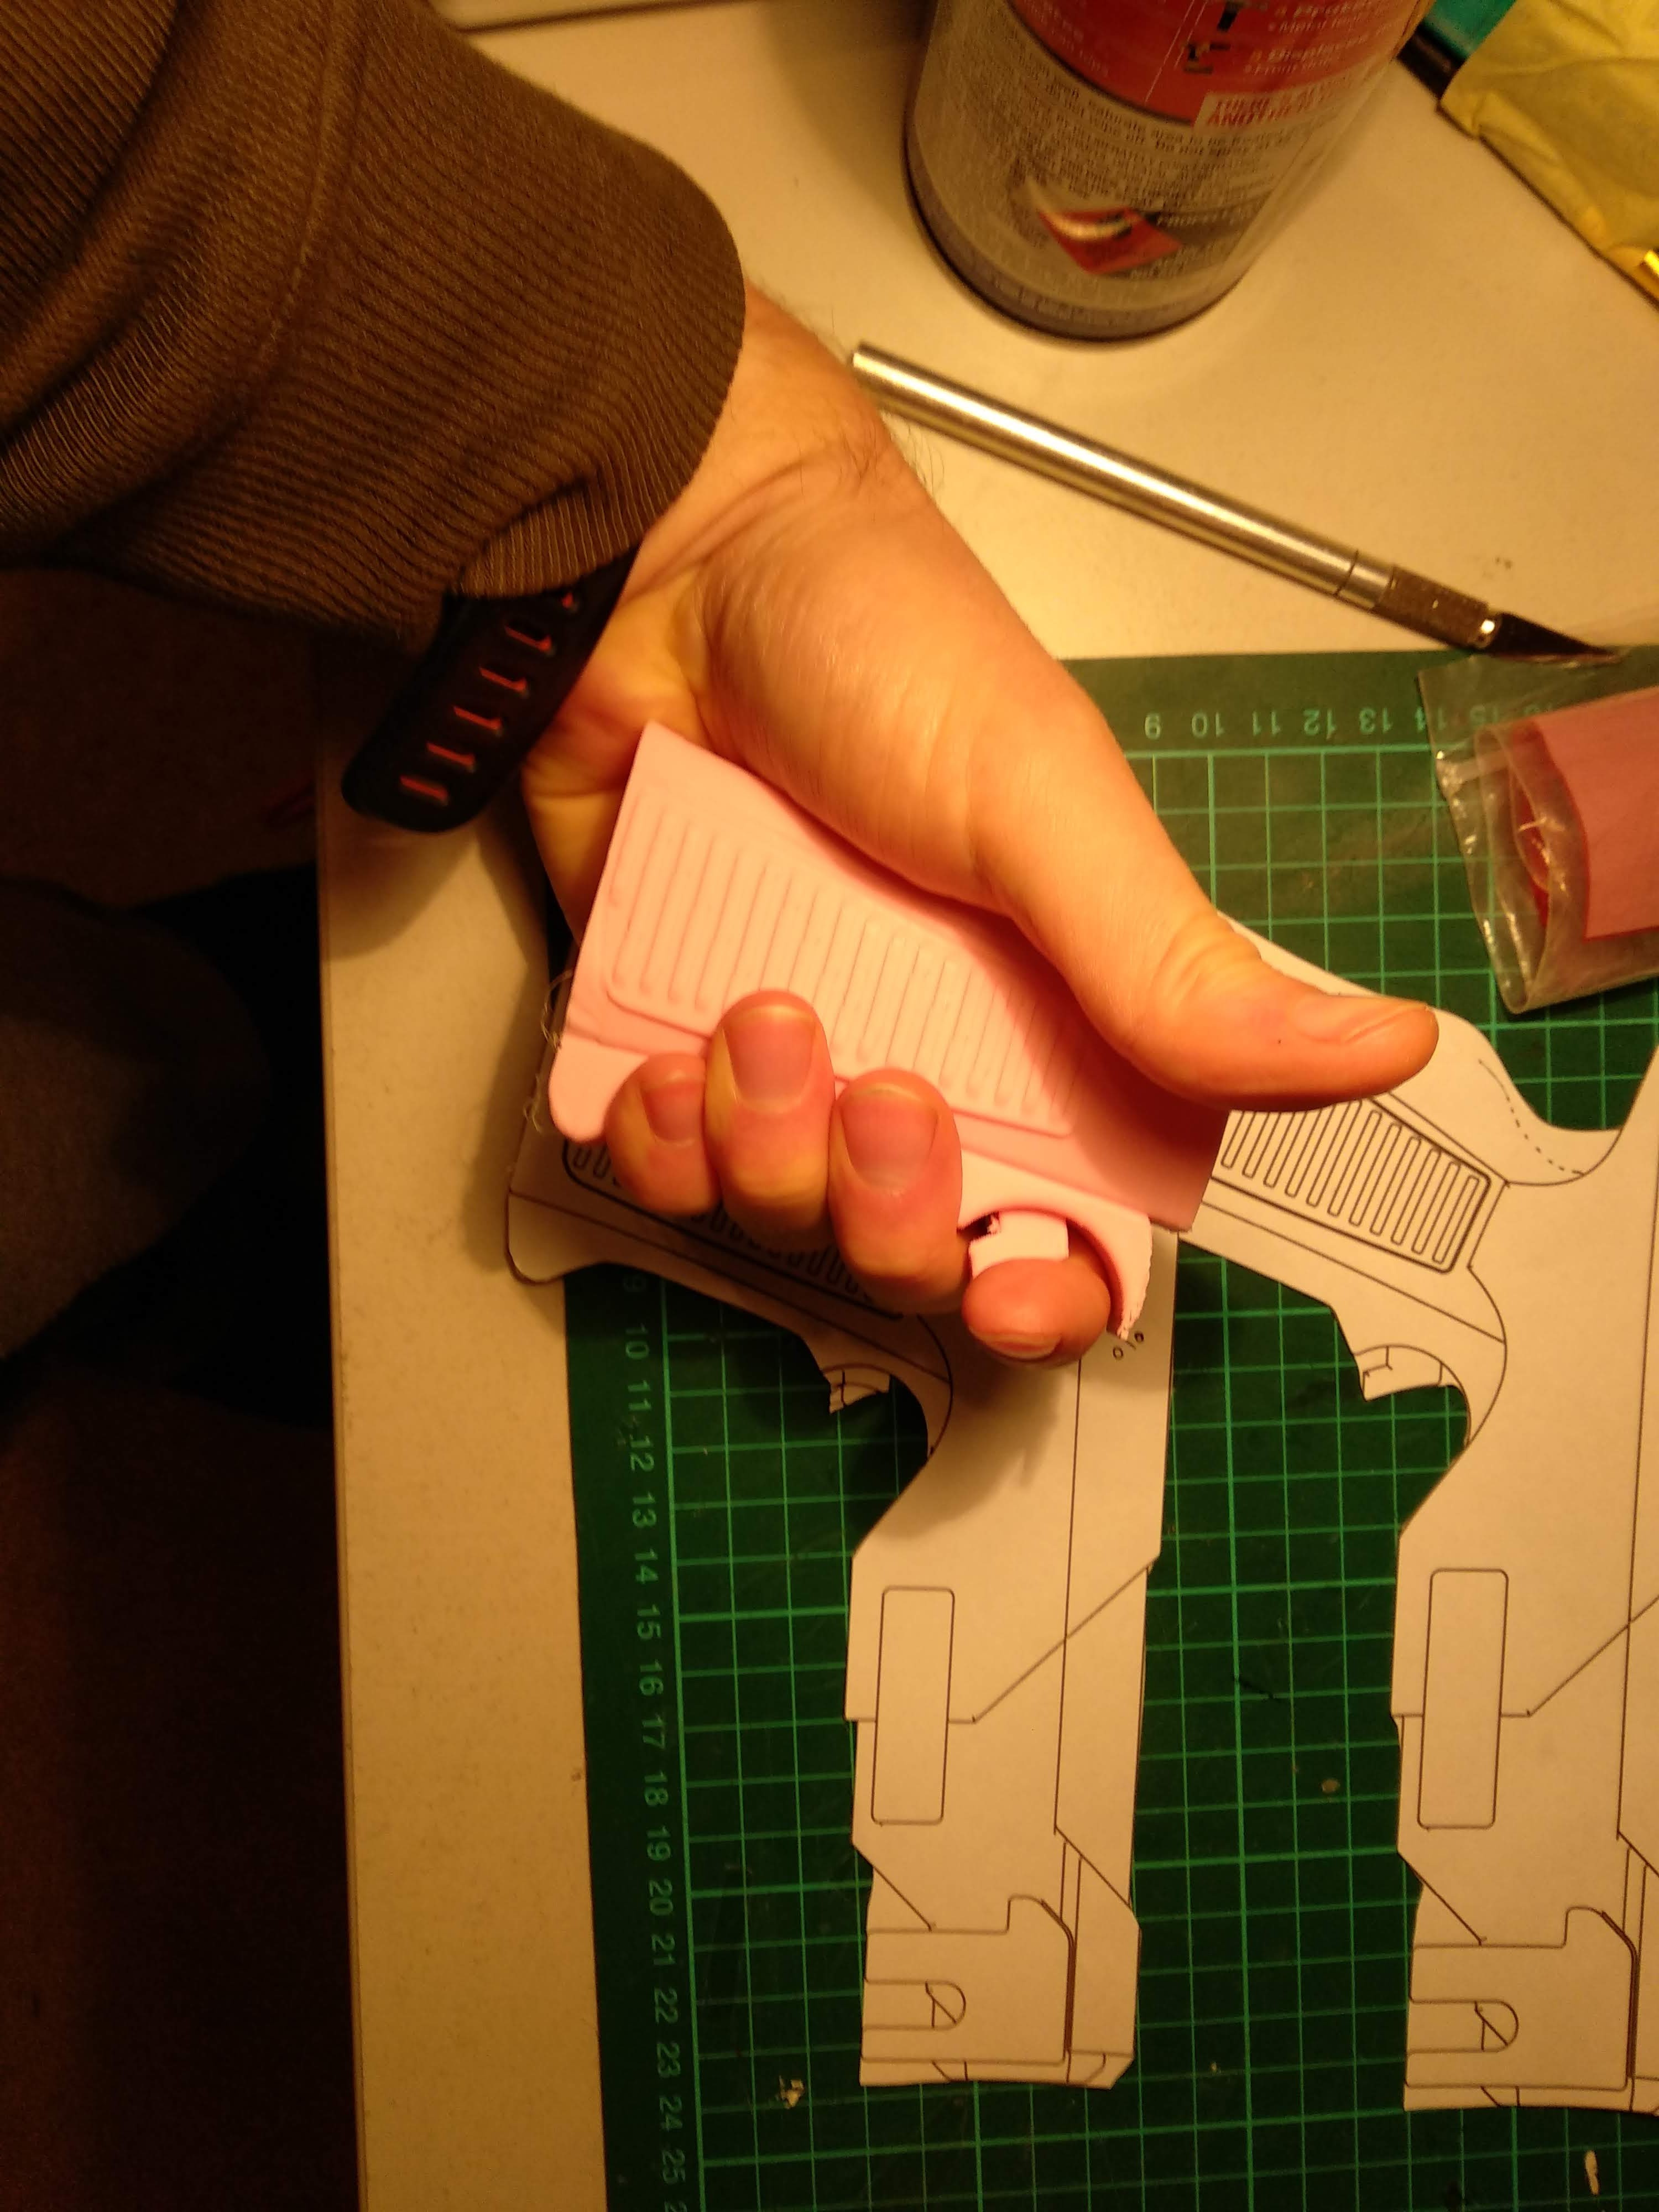
2D outline
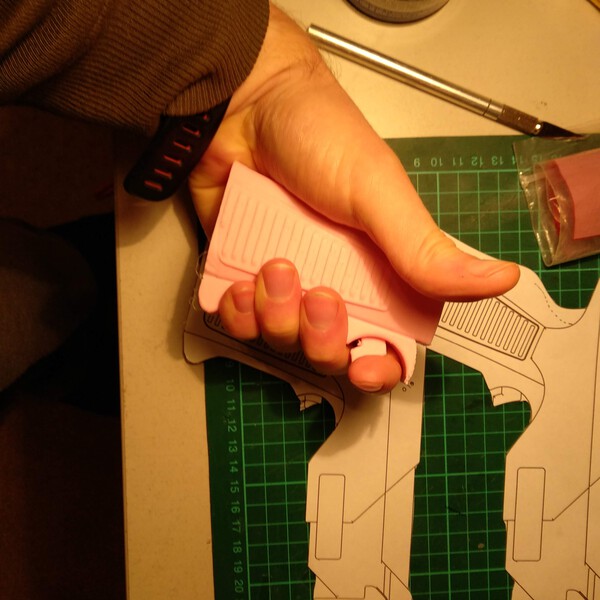
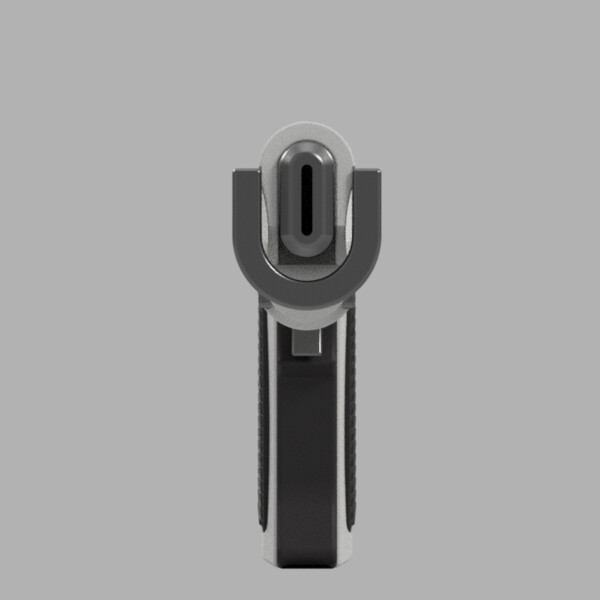
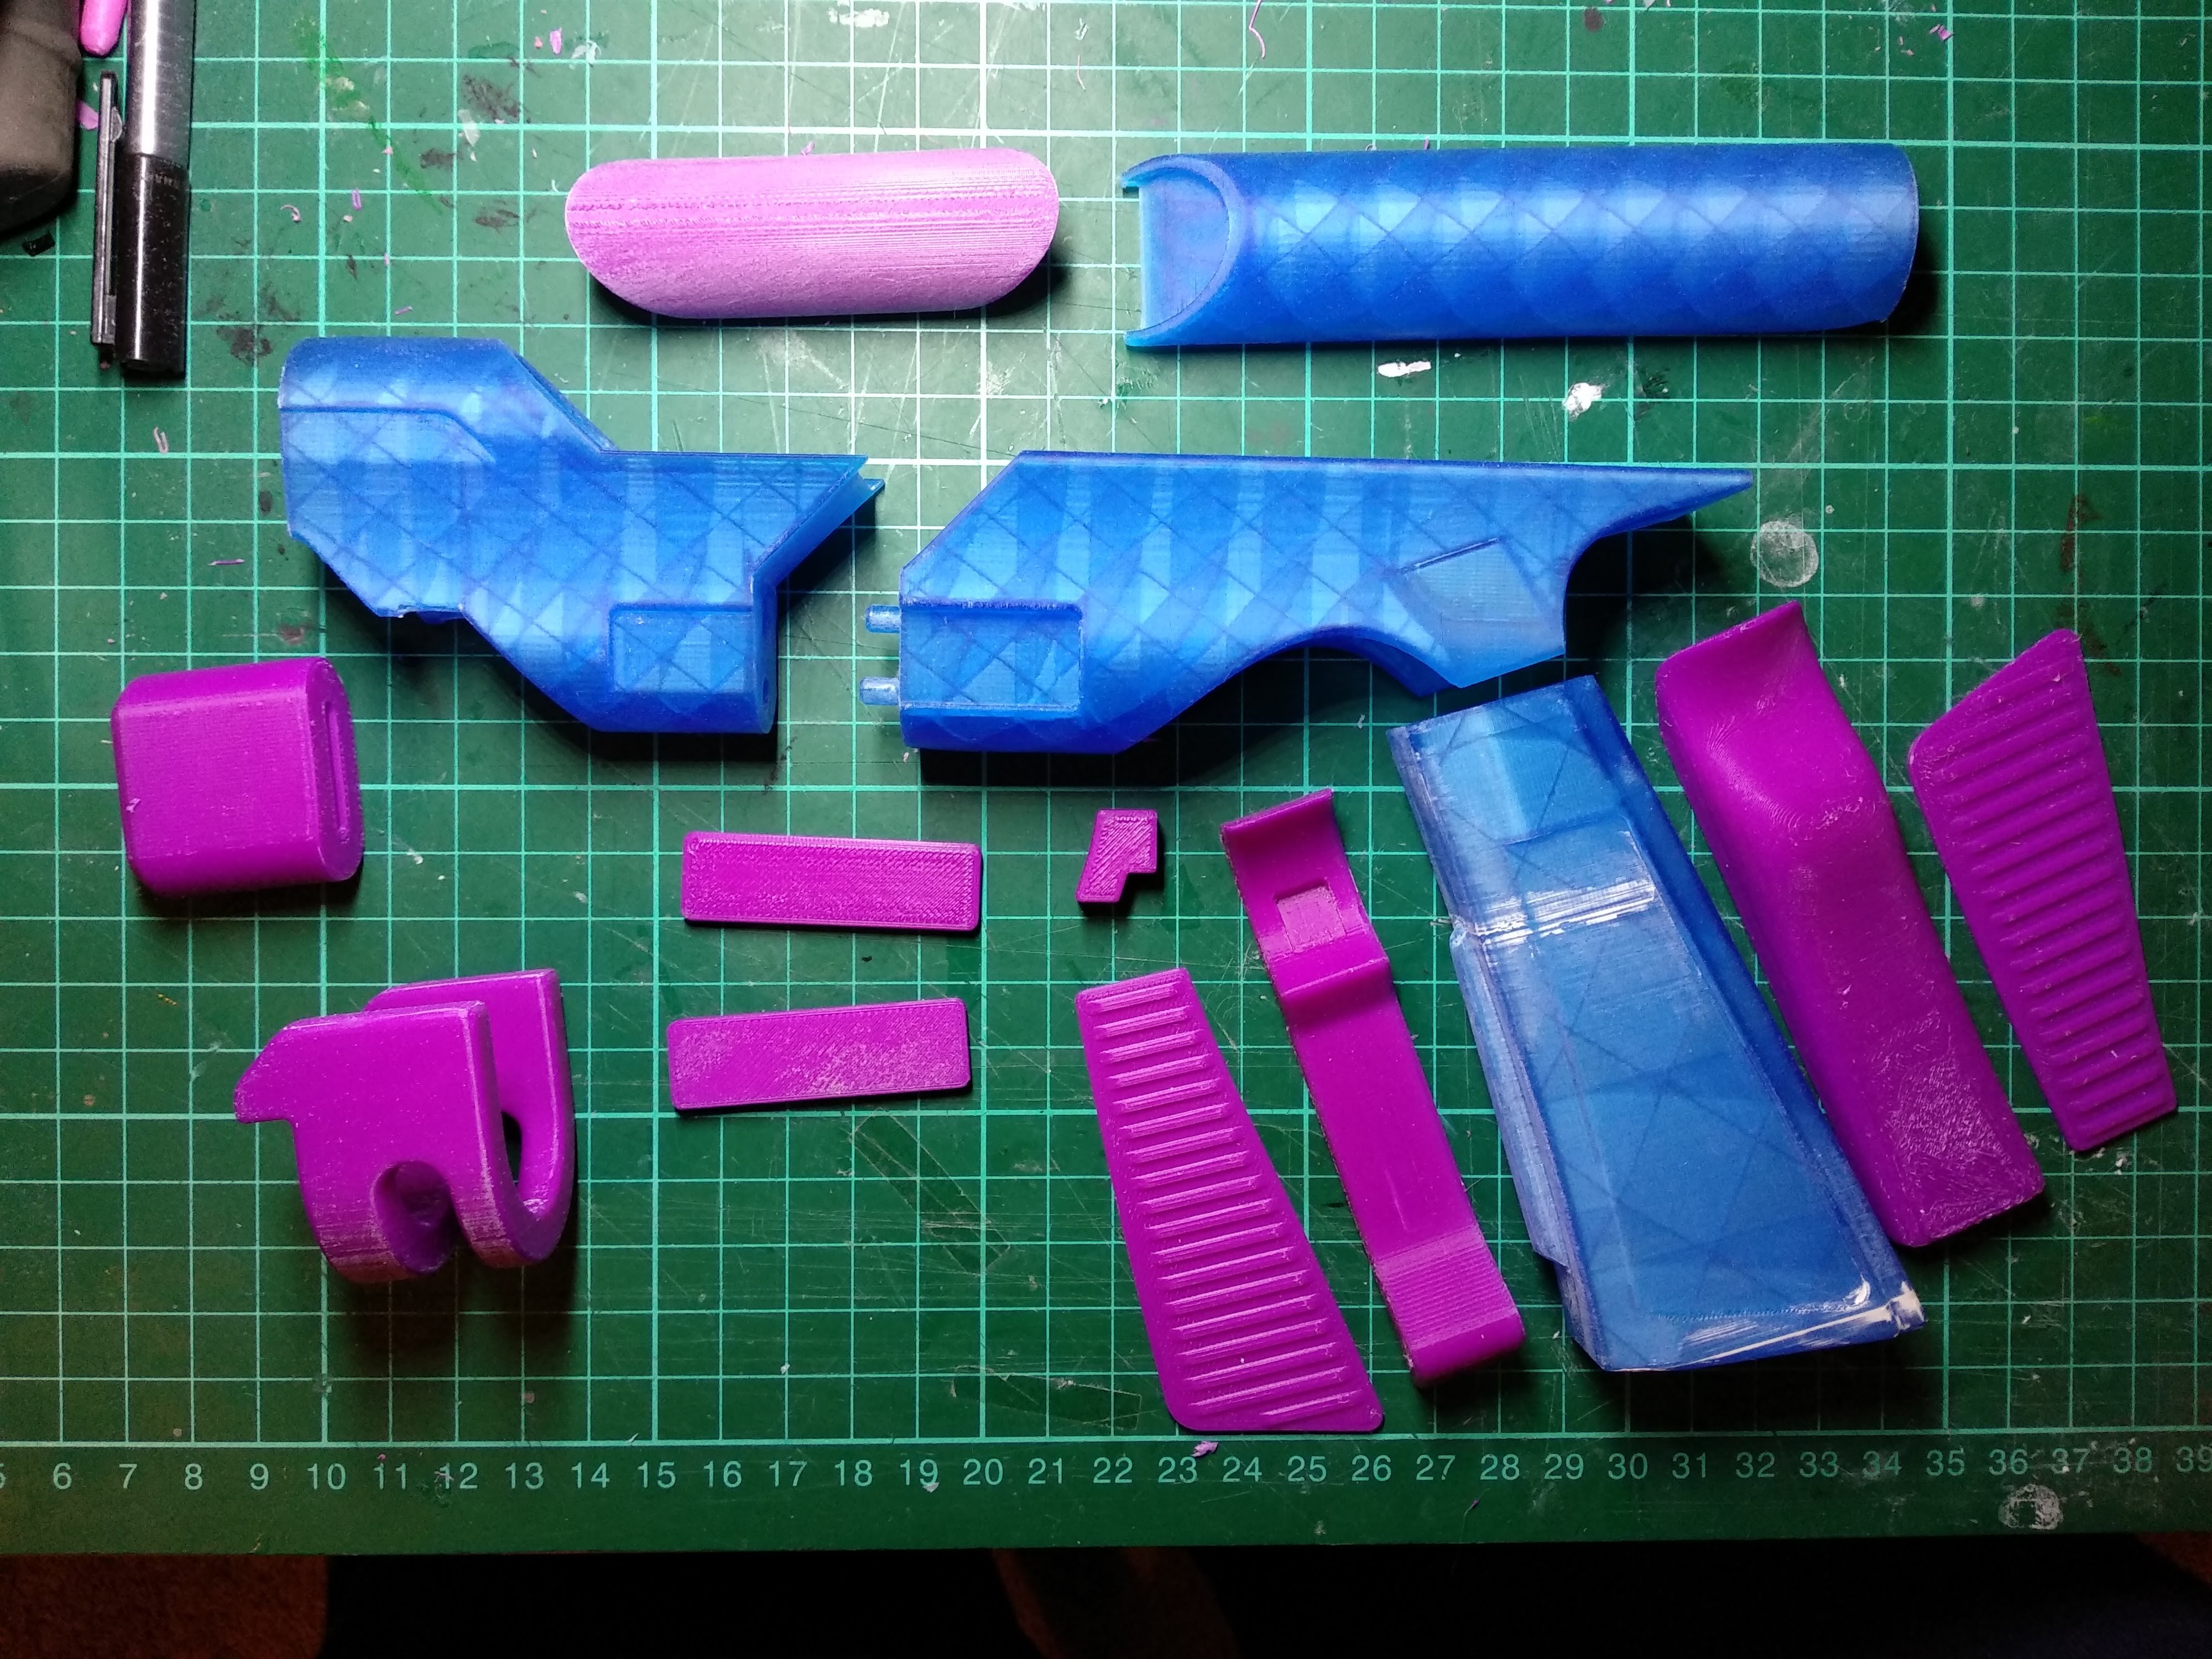
Before printing all the parts, I've performed a scale test, where first I've printed outlines on paper with various scales and saw which one best fits my hand. When was happy with that I double-checked by printing just a handle to make sure it fits nicely in my hand.
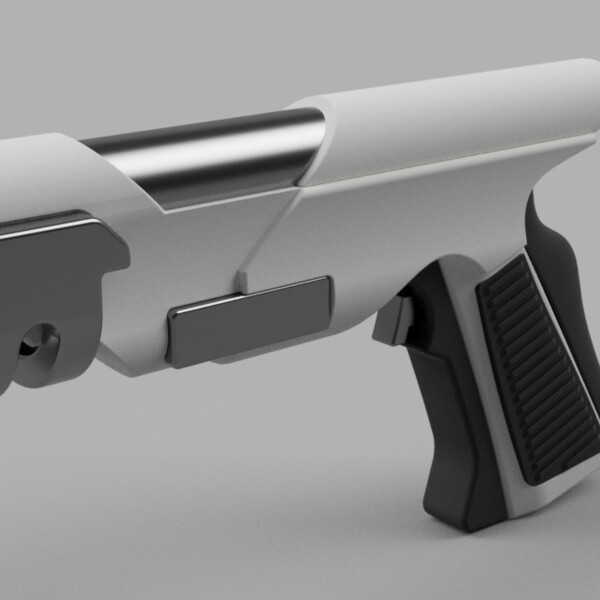
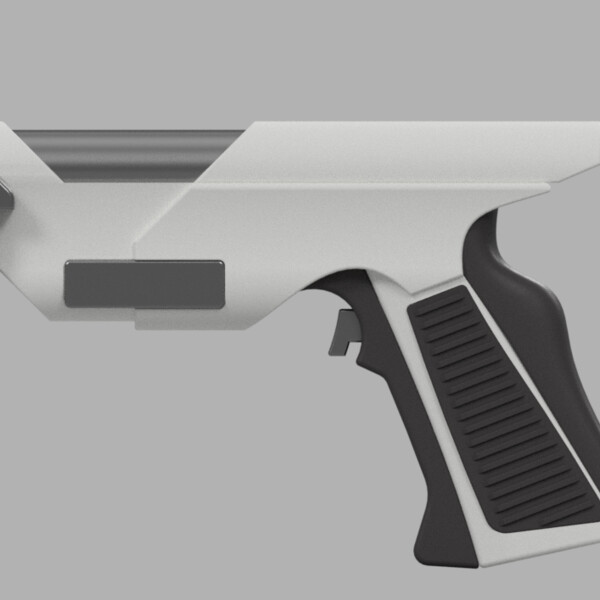
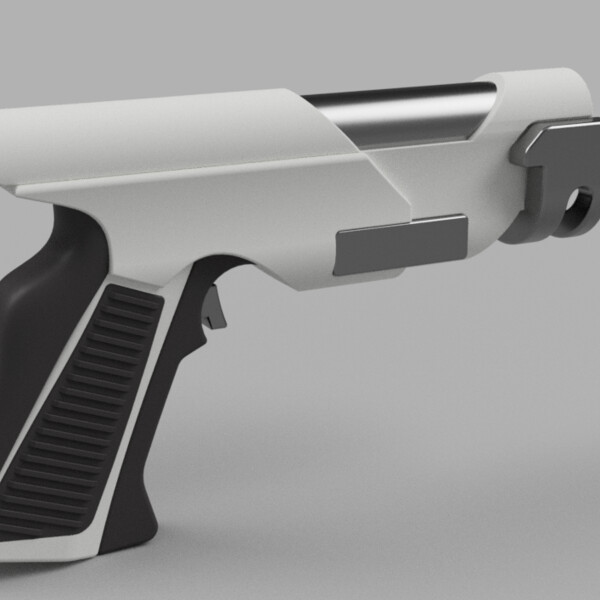
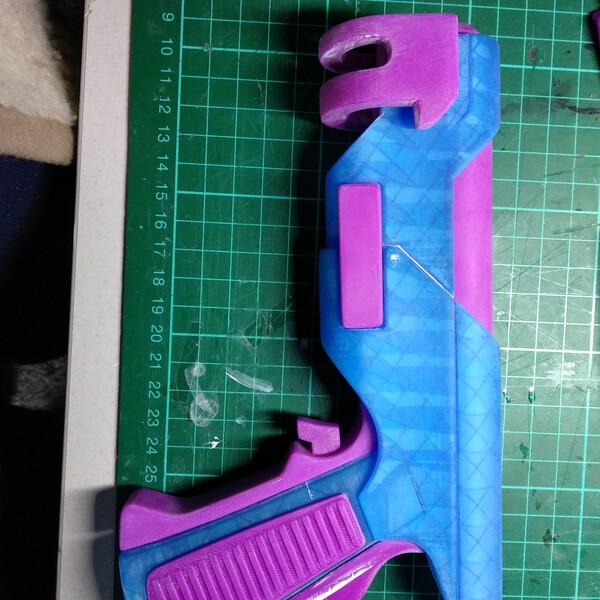
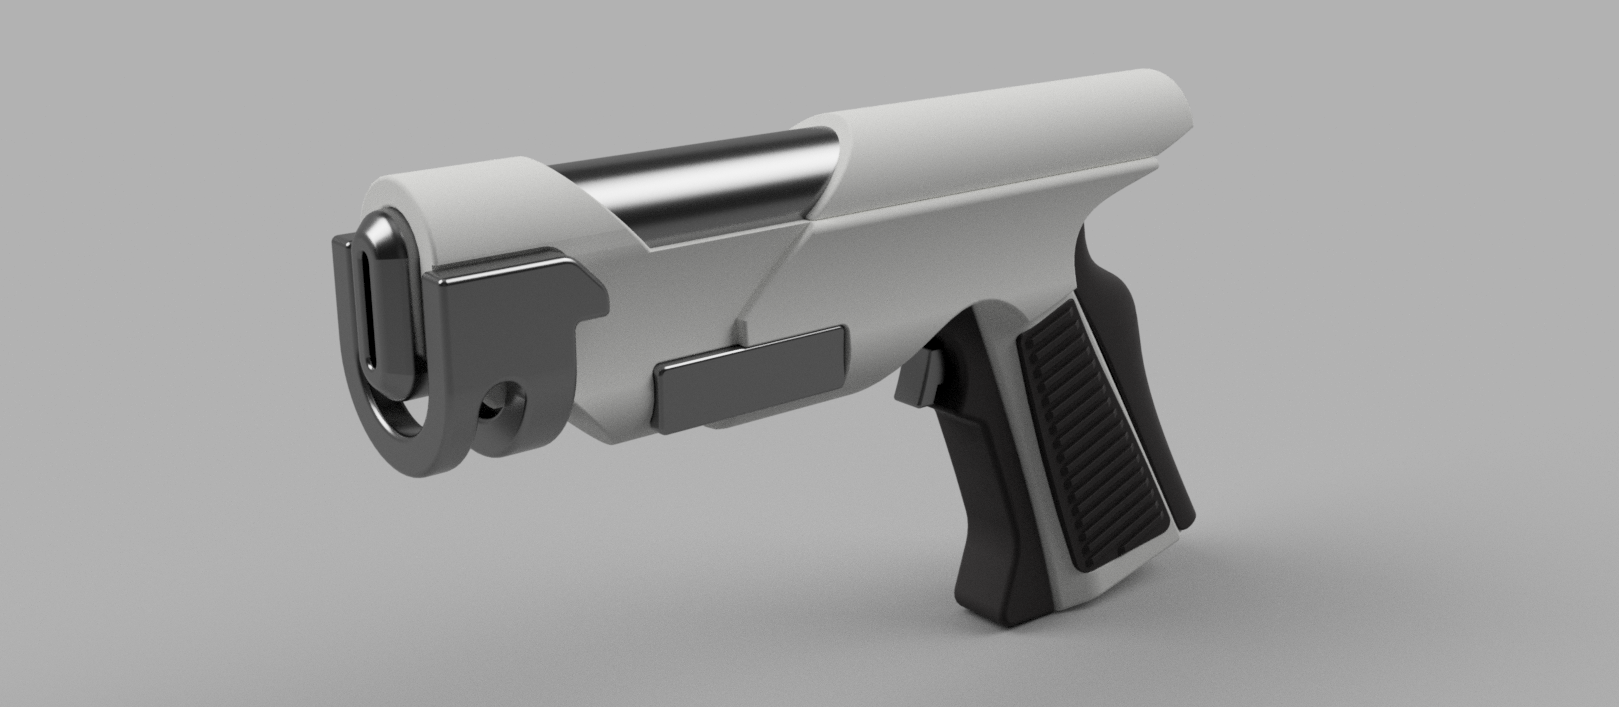
3D Modelling

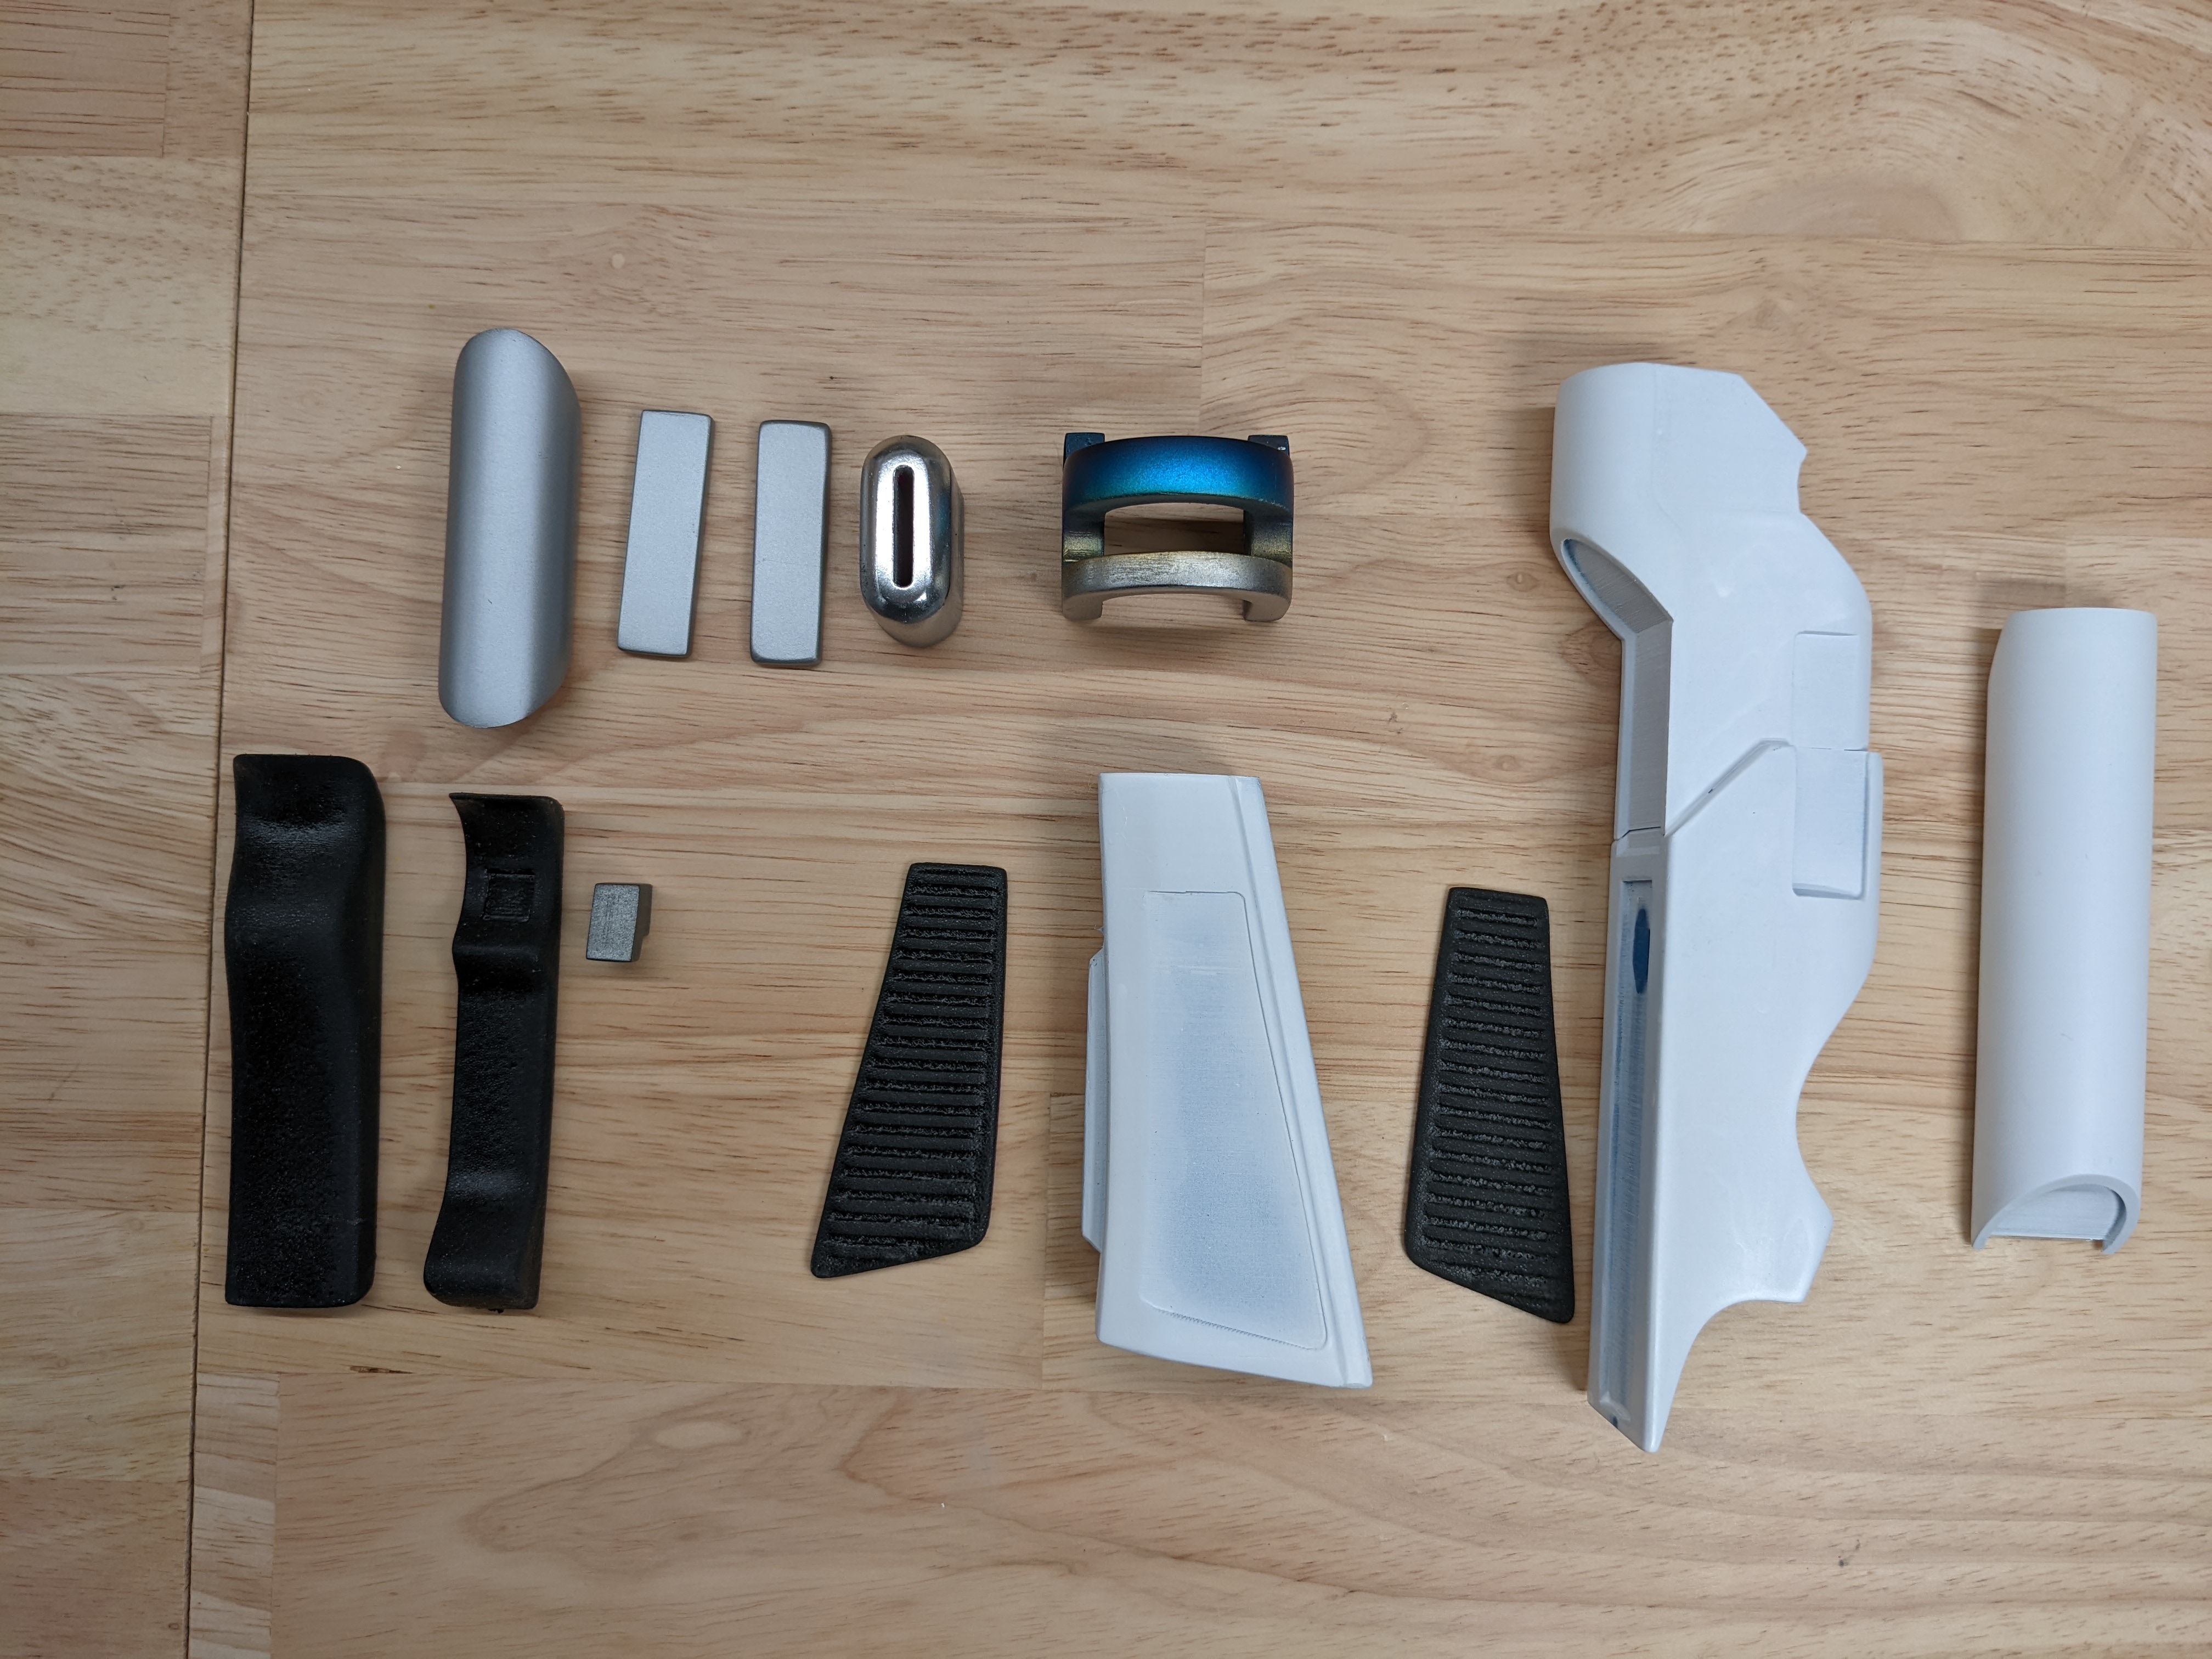
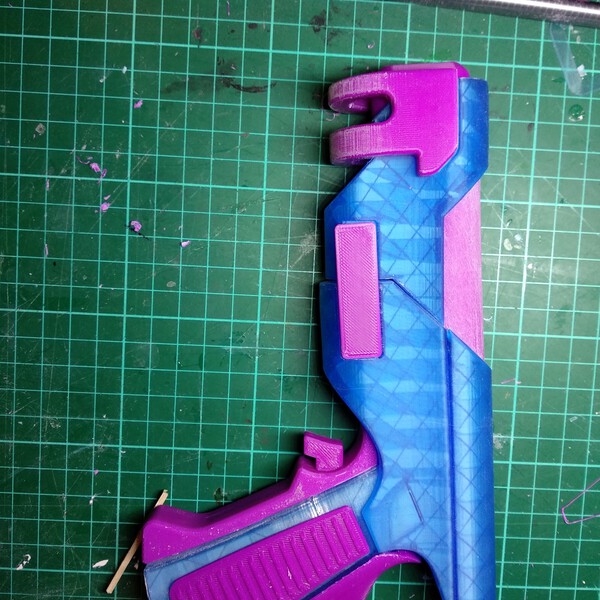
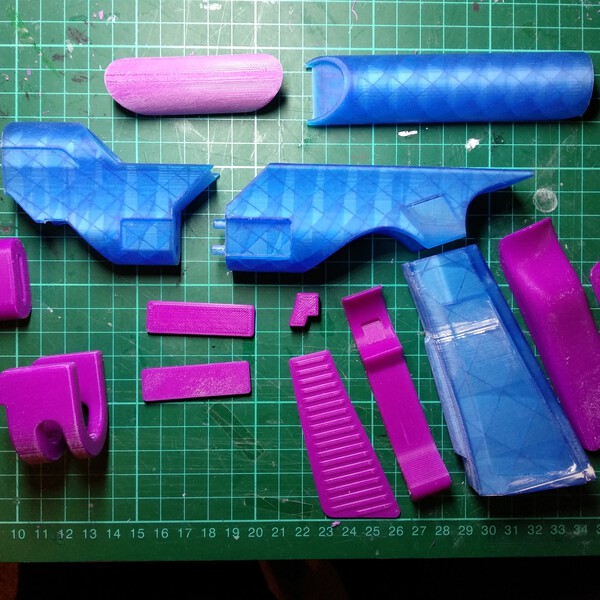
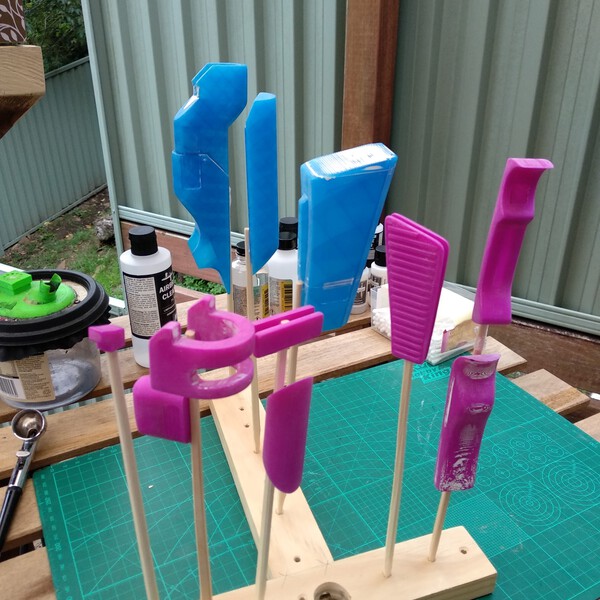
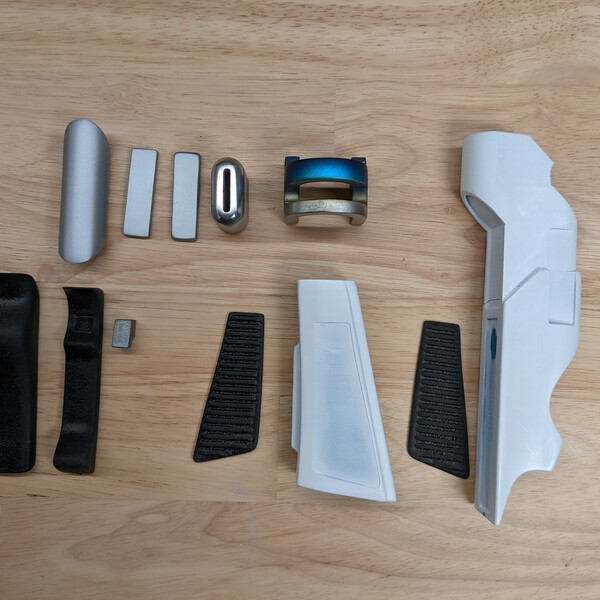
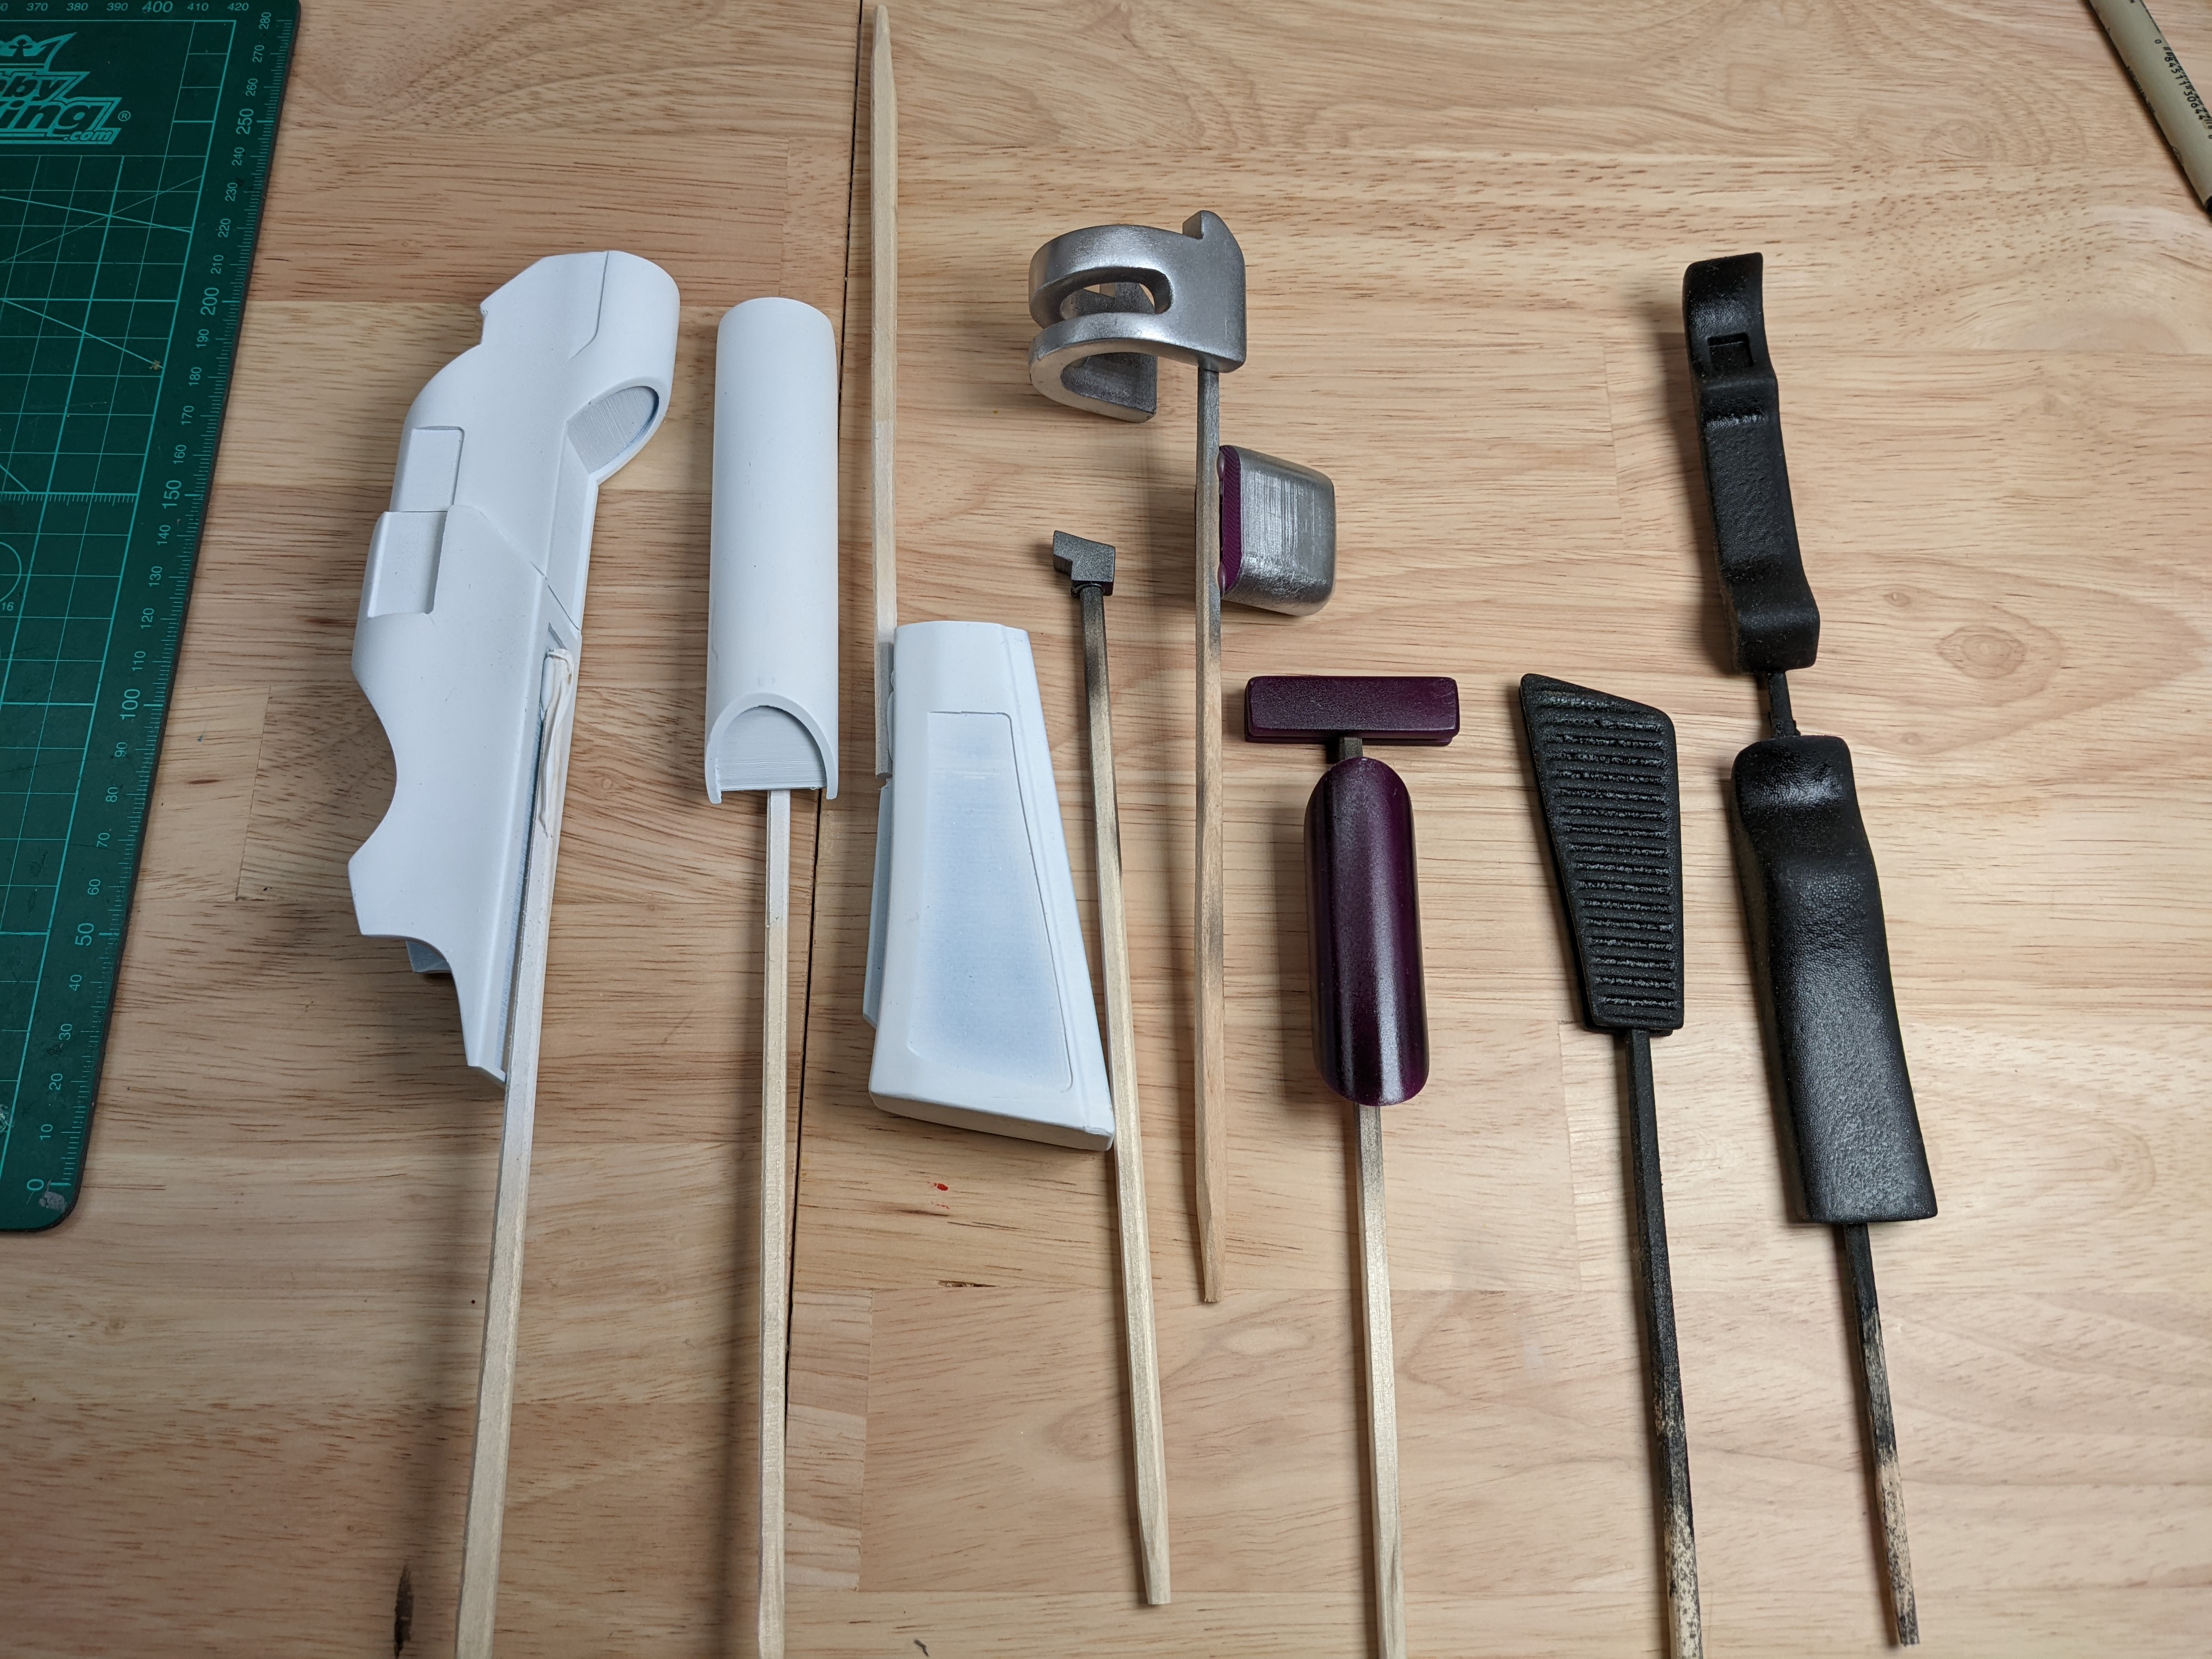
3D Printing
I was printing in ABS because it is much better in terms of sanding.
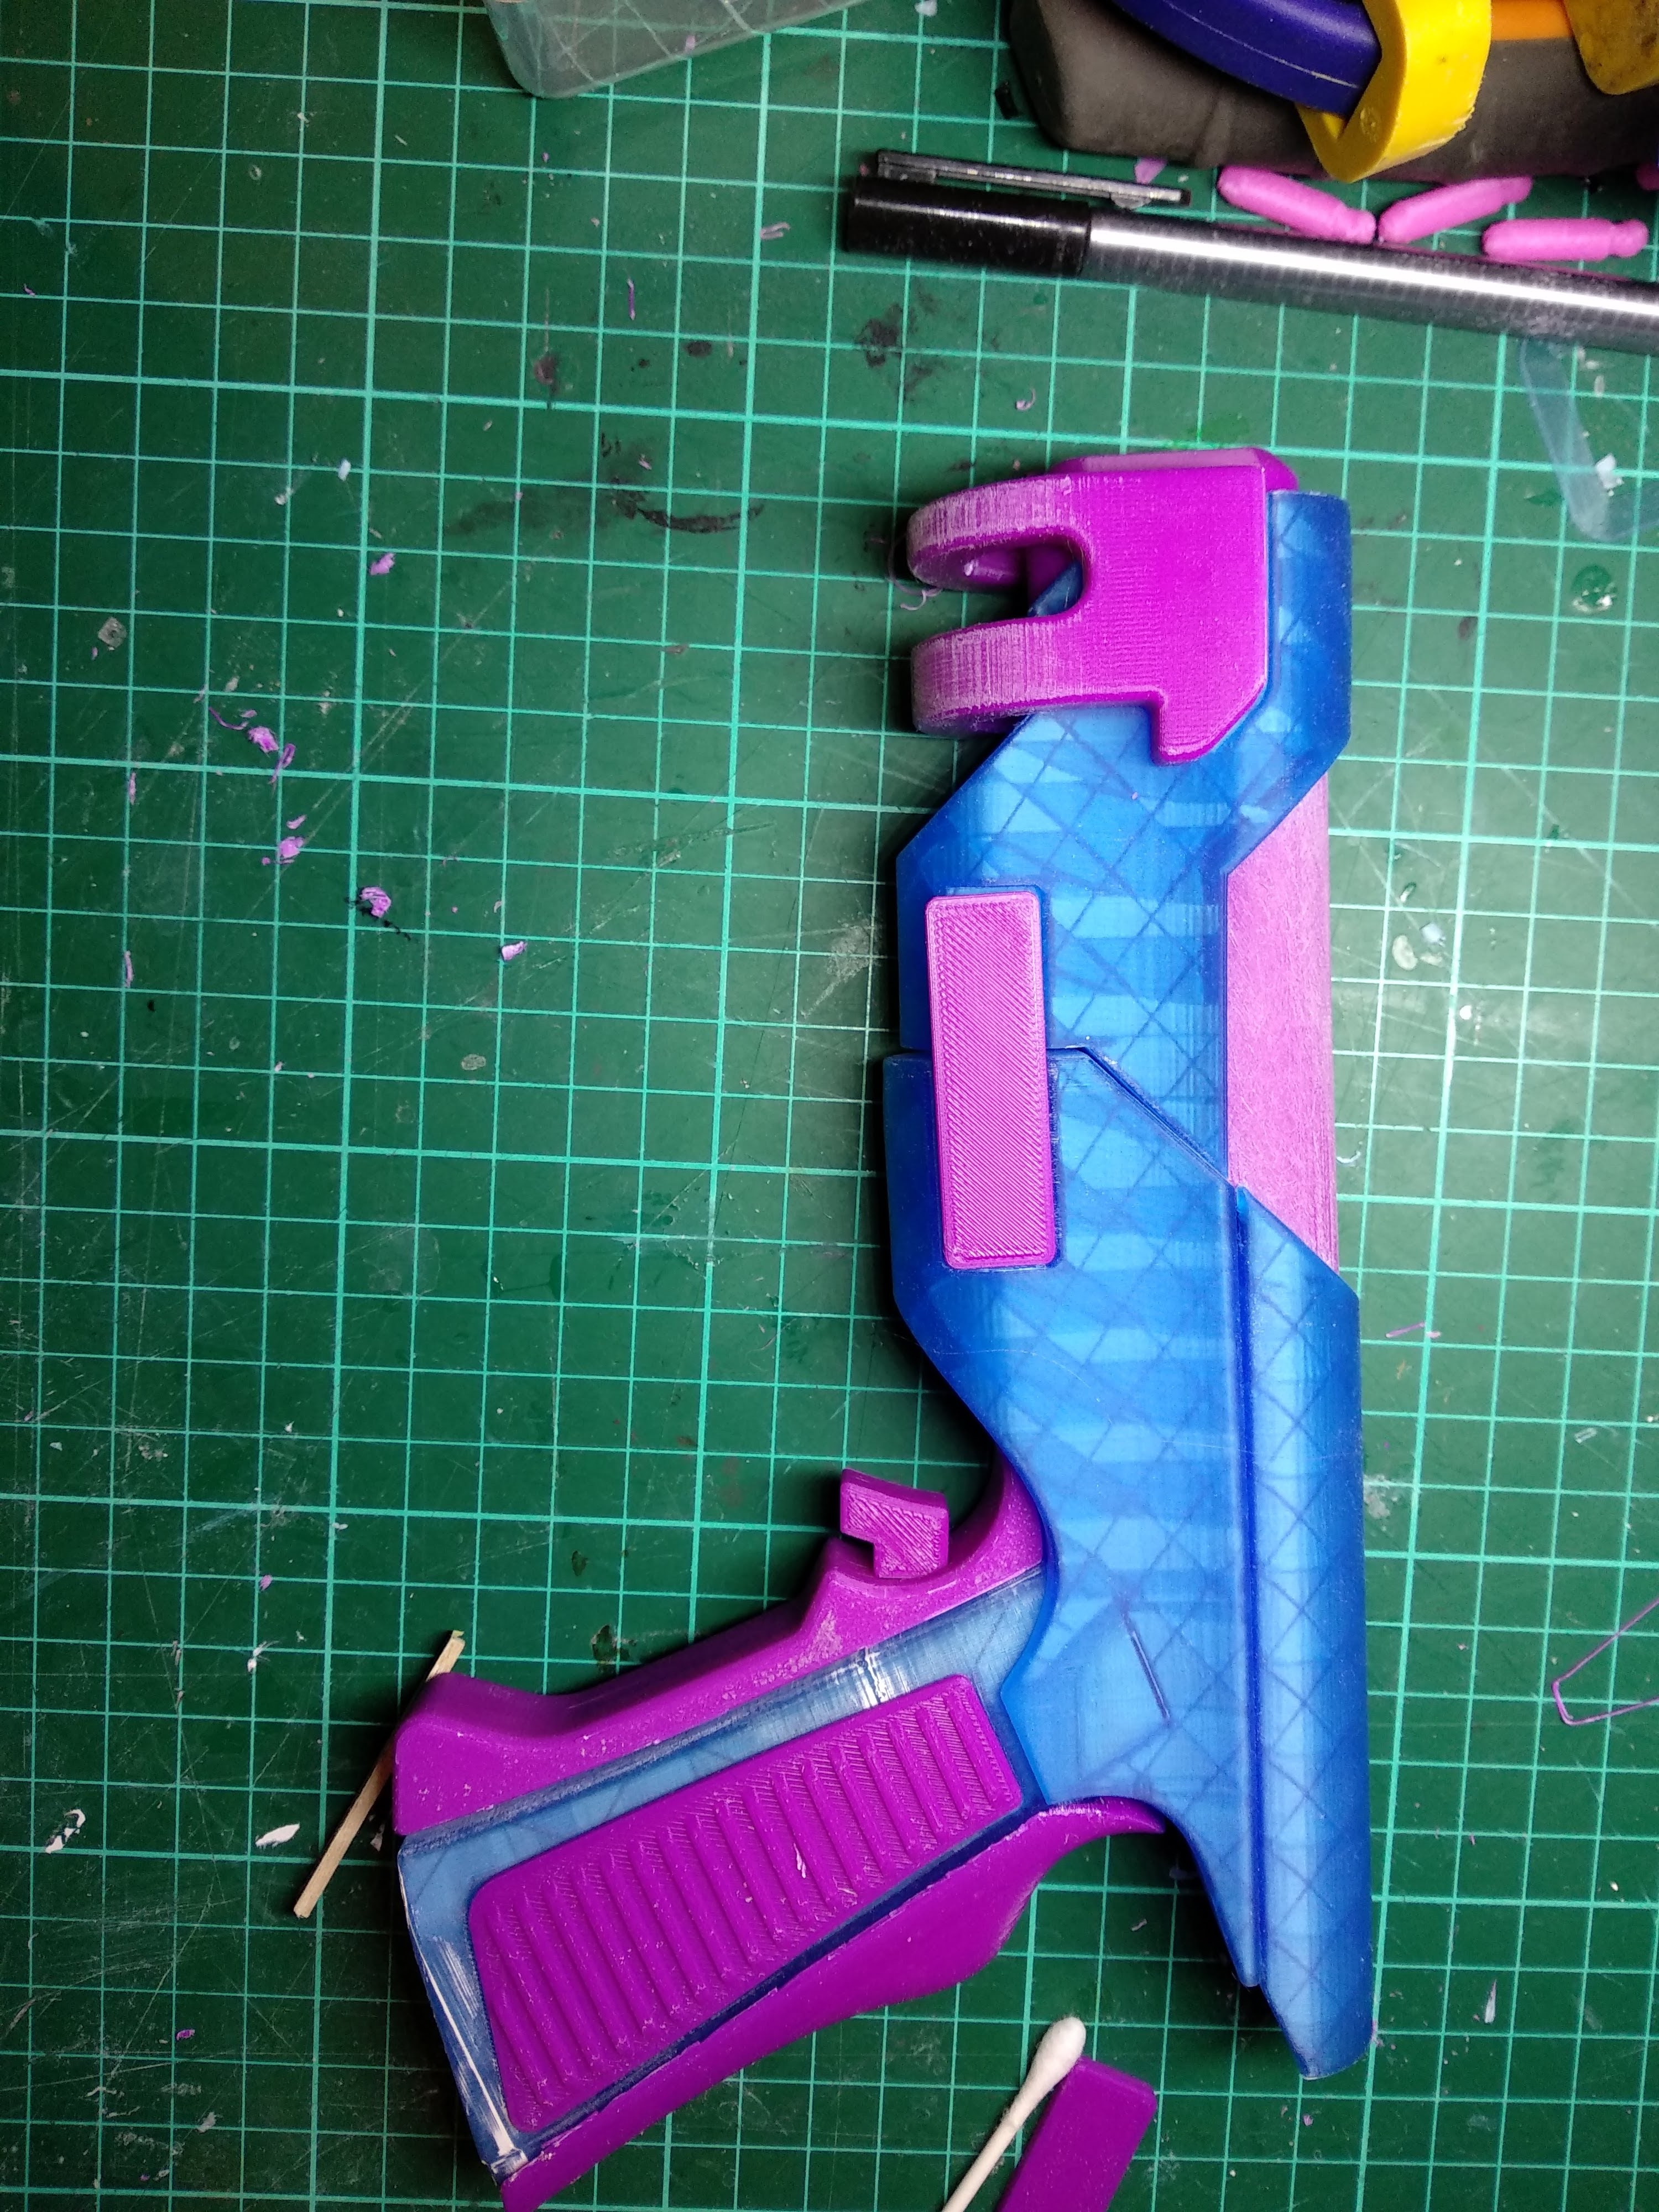
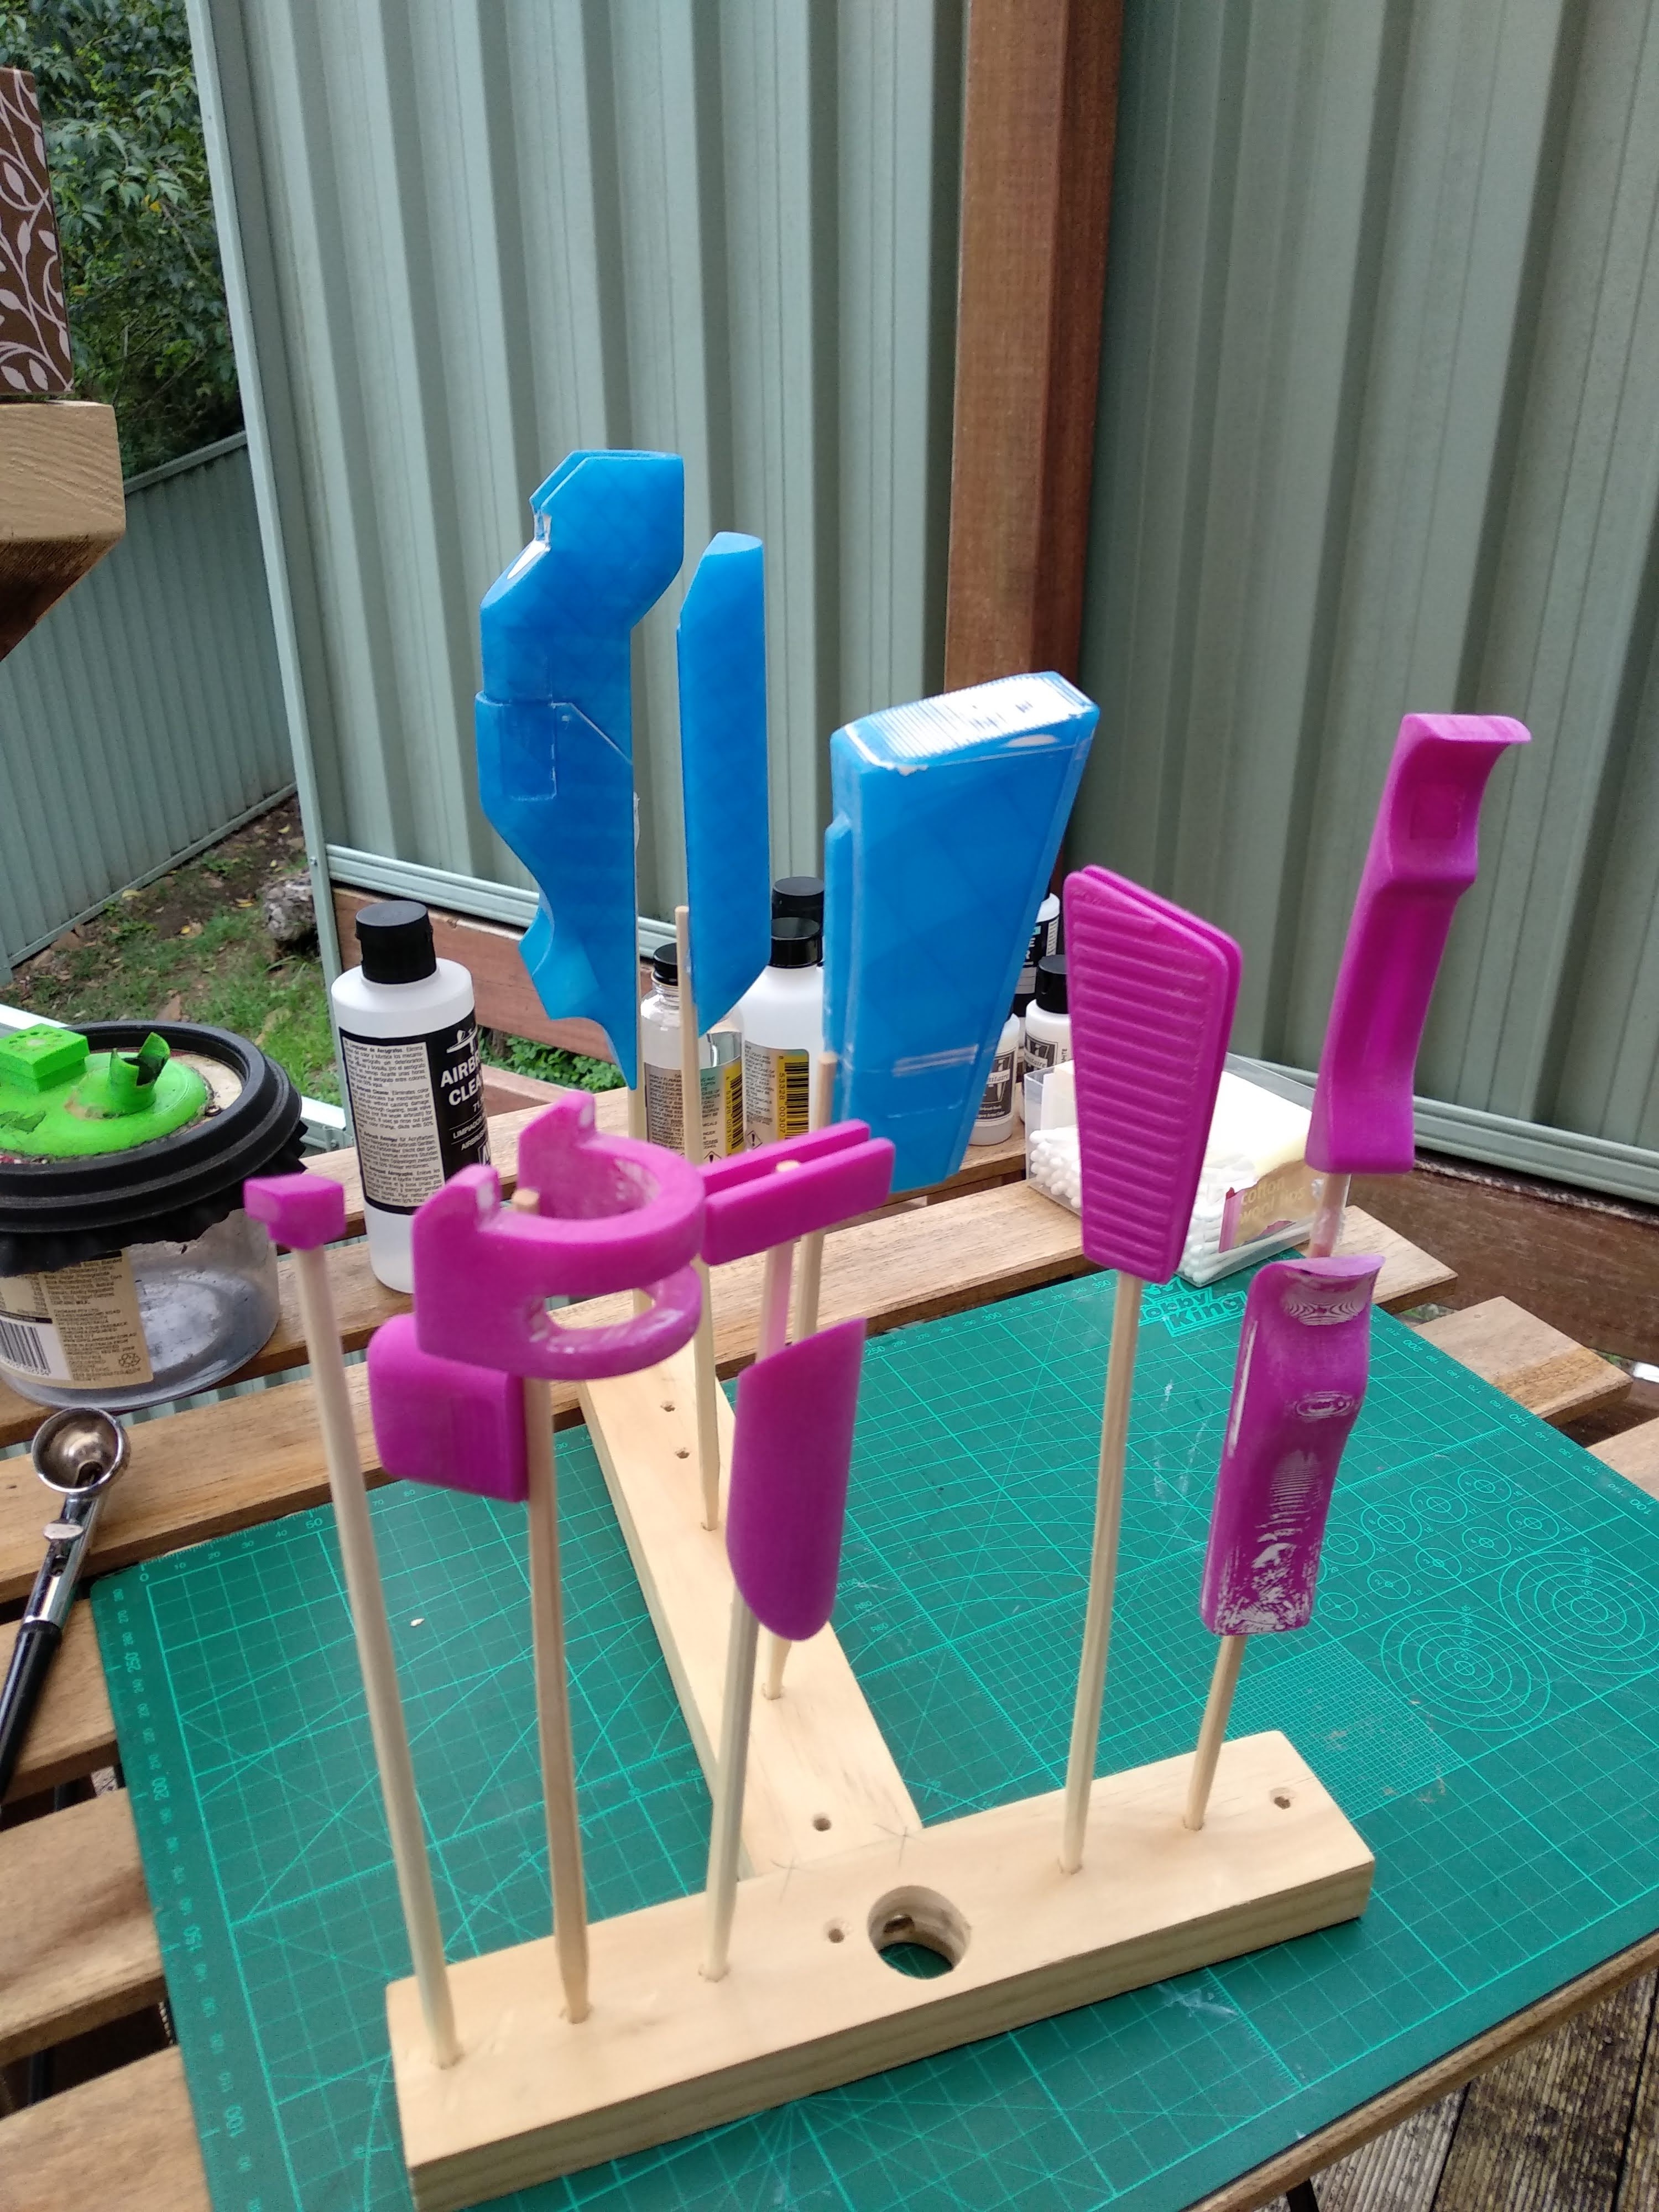
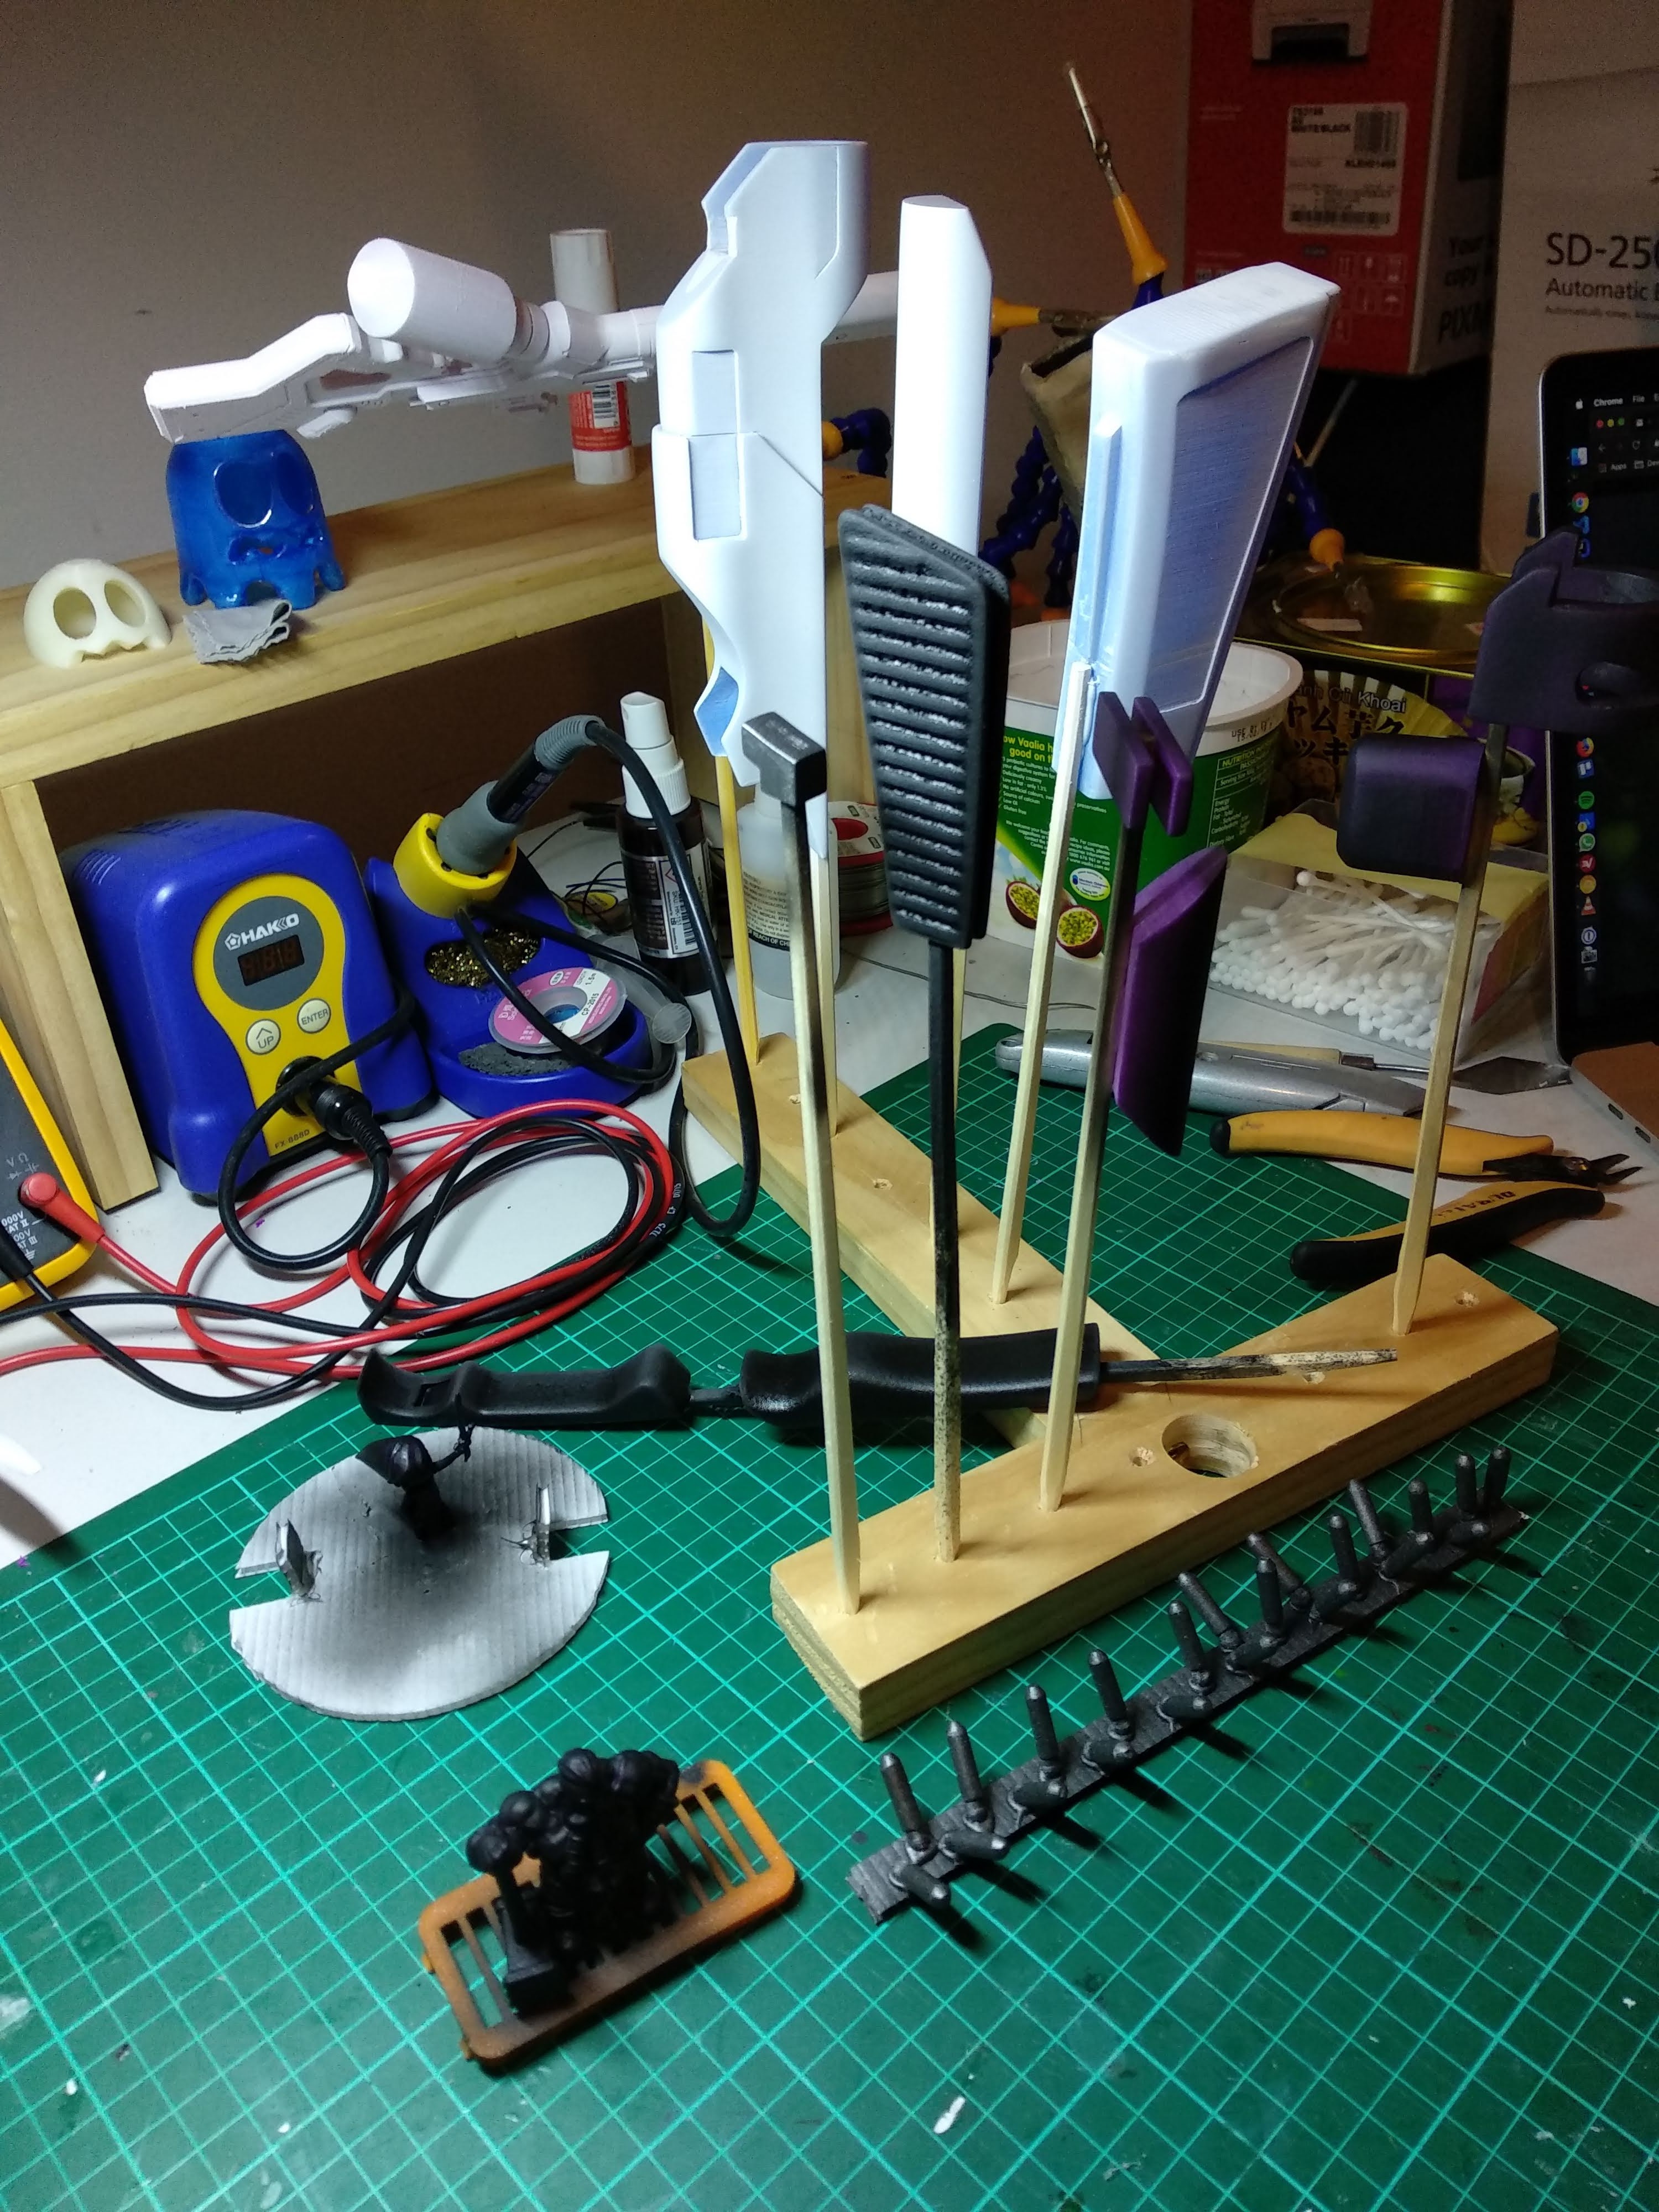
Sanding and prepping
Since I've sanded all the print lines with sandpaper I didn't need filler primer here.
There was a bunch of printing defects, so putty was applied and sanded down.
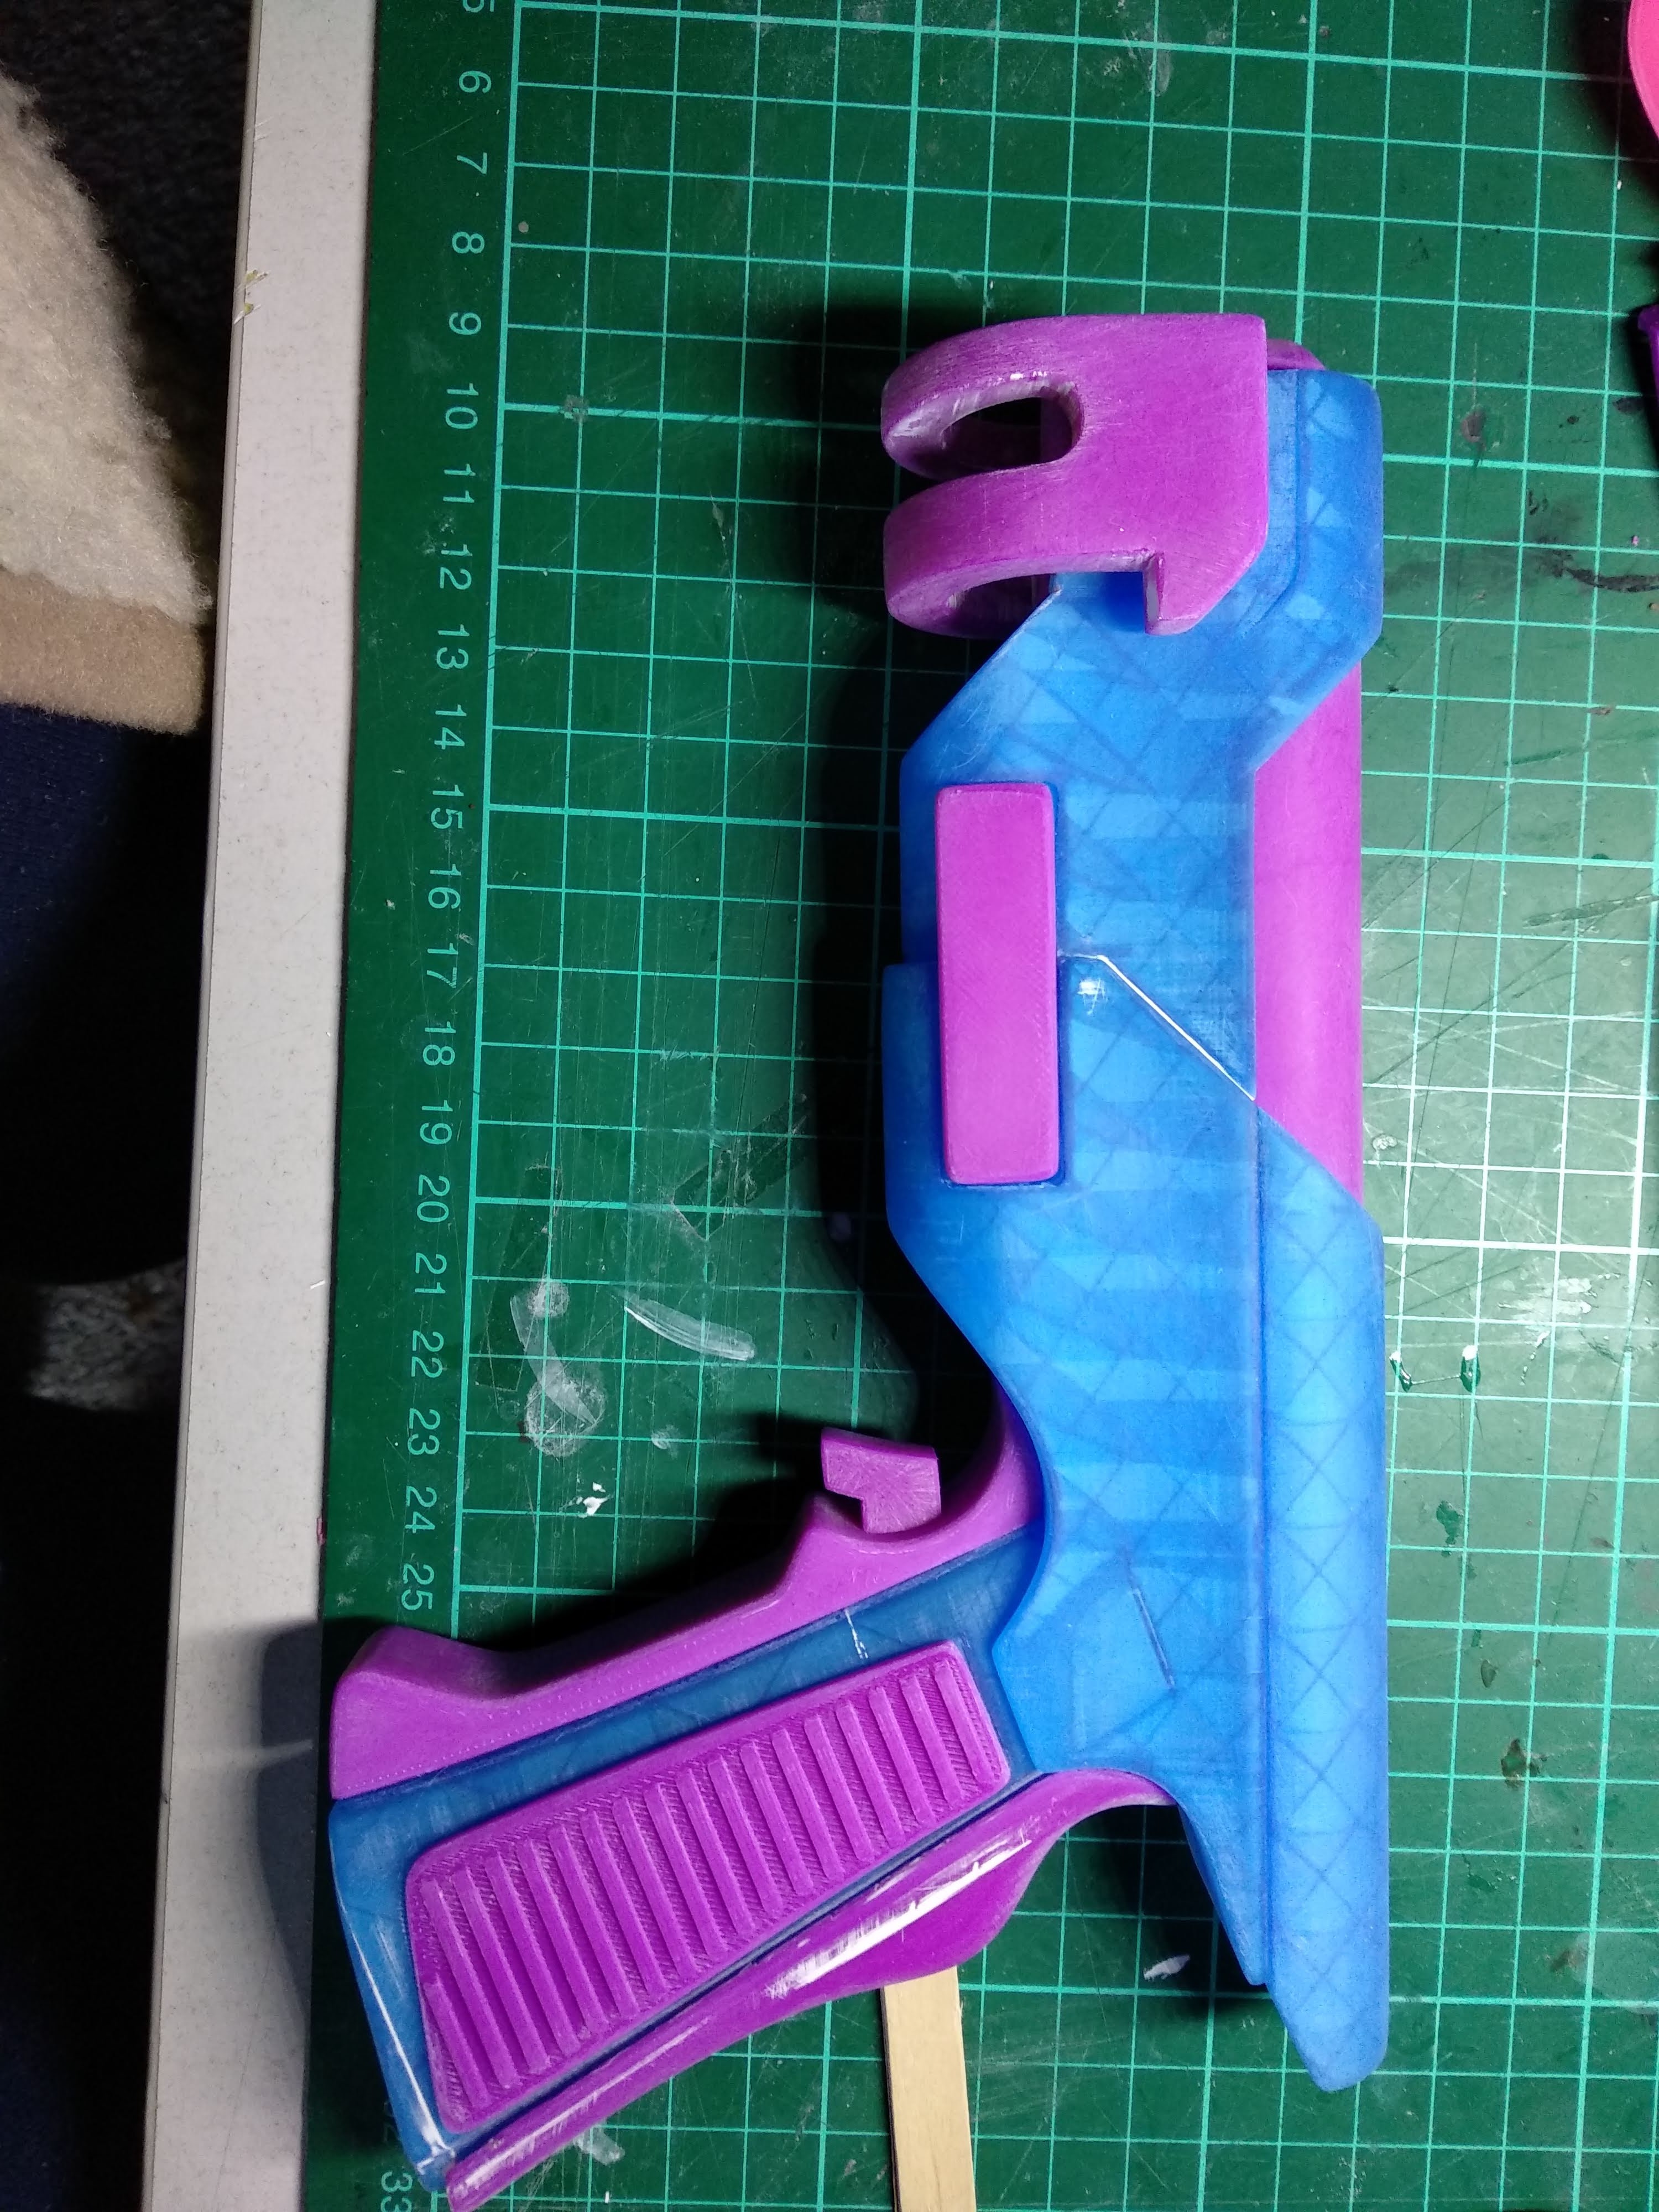

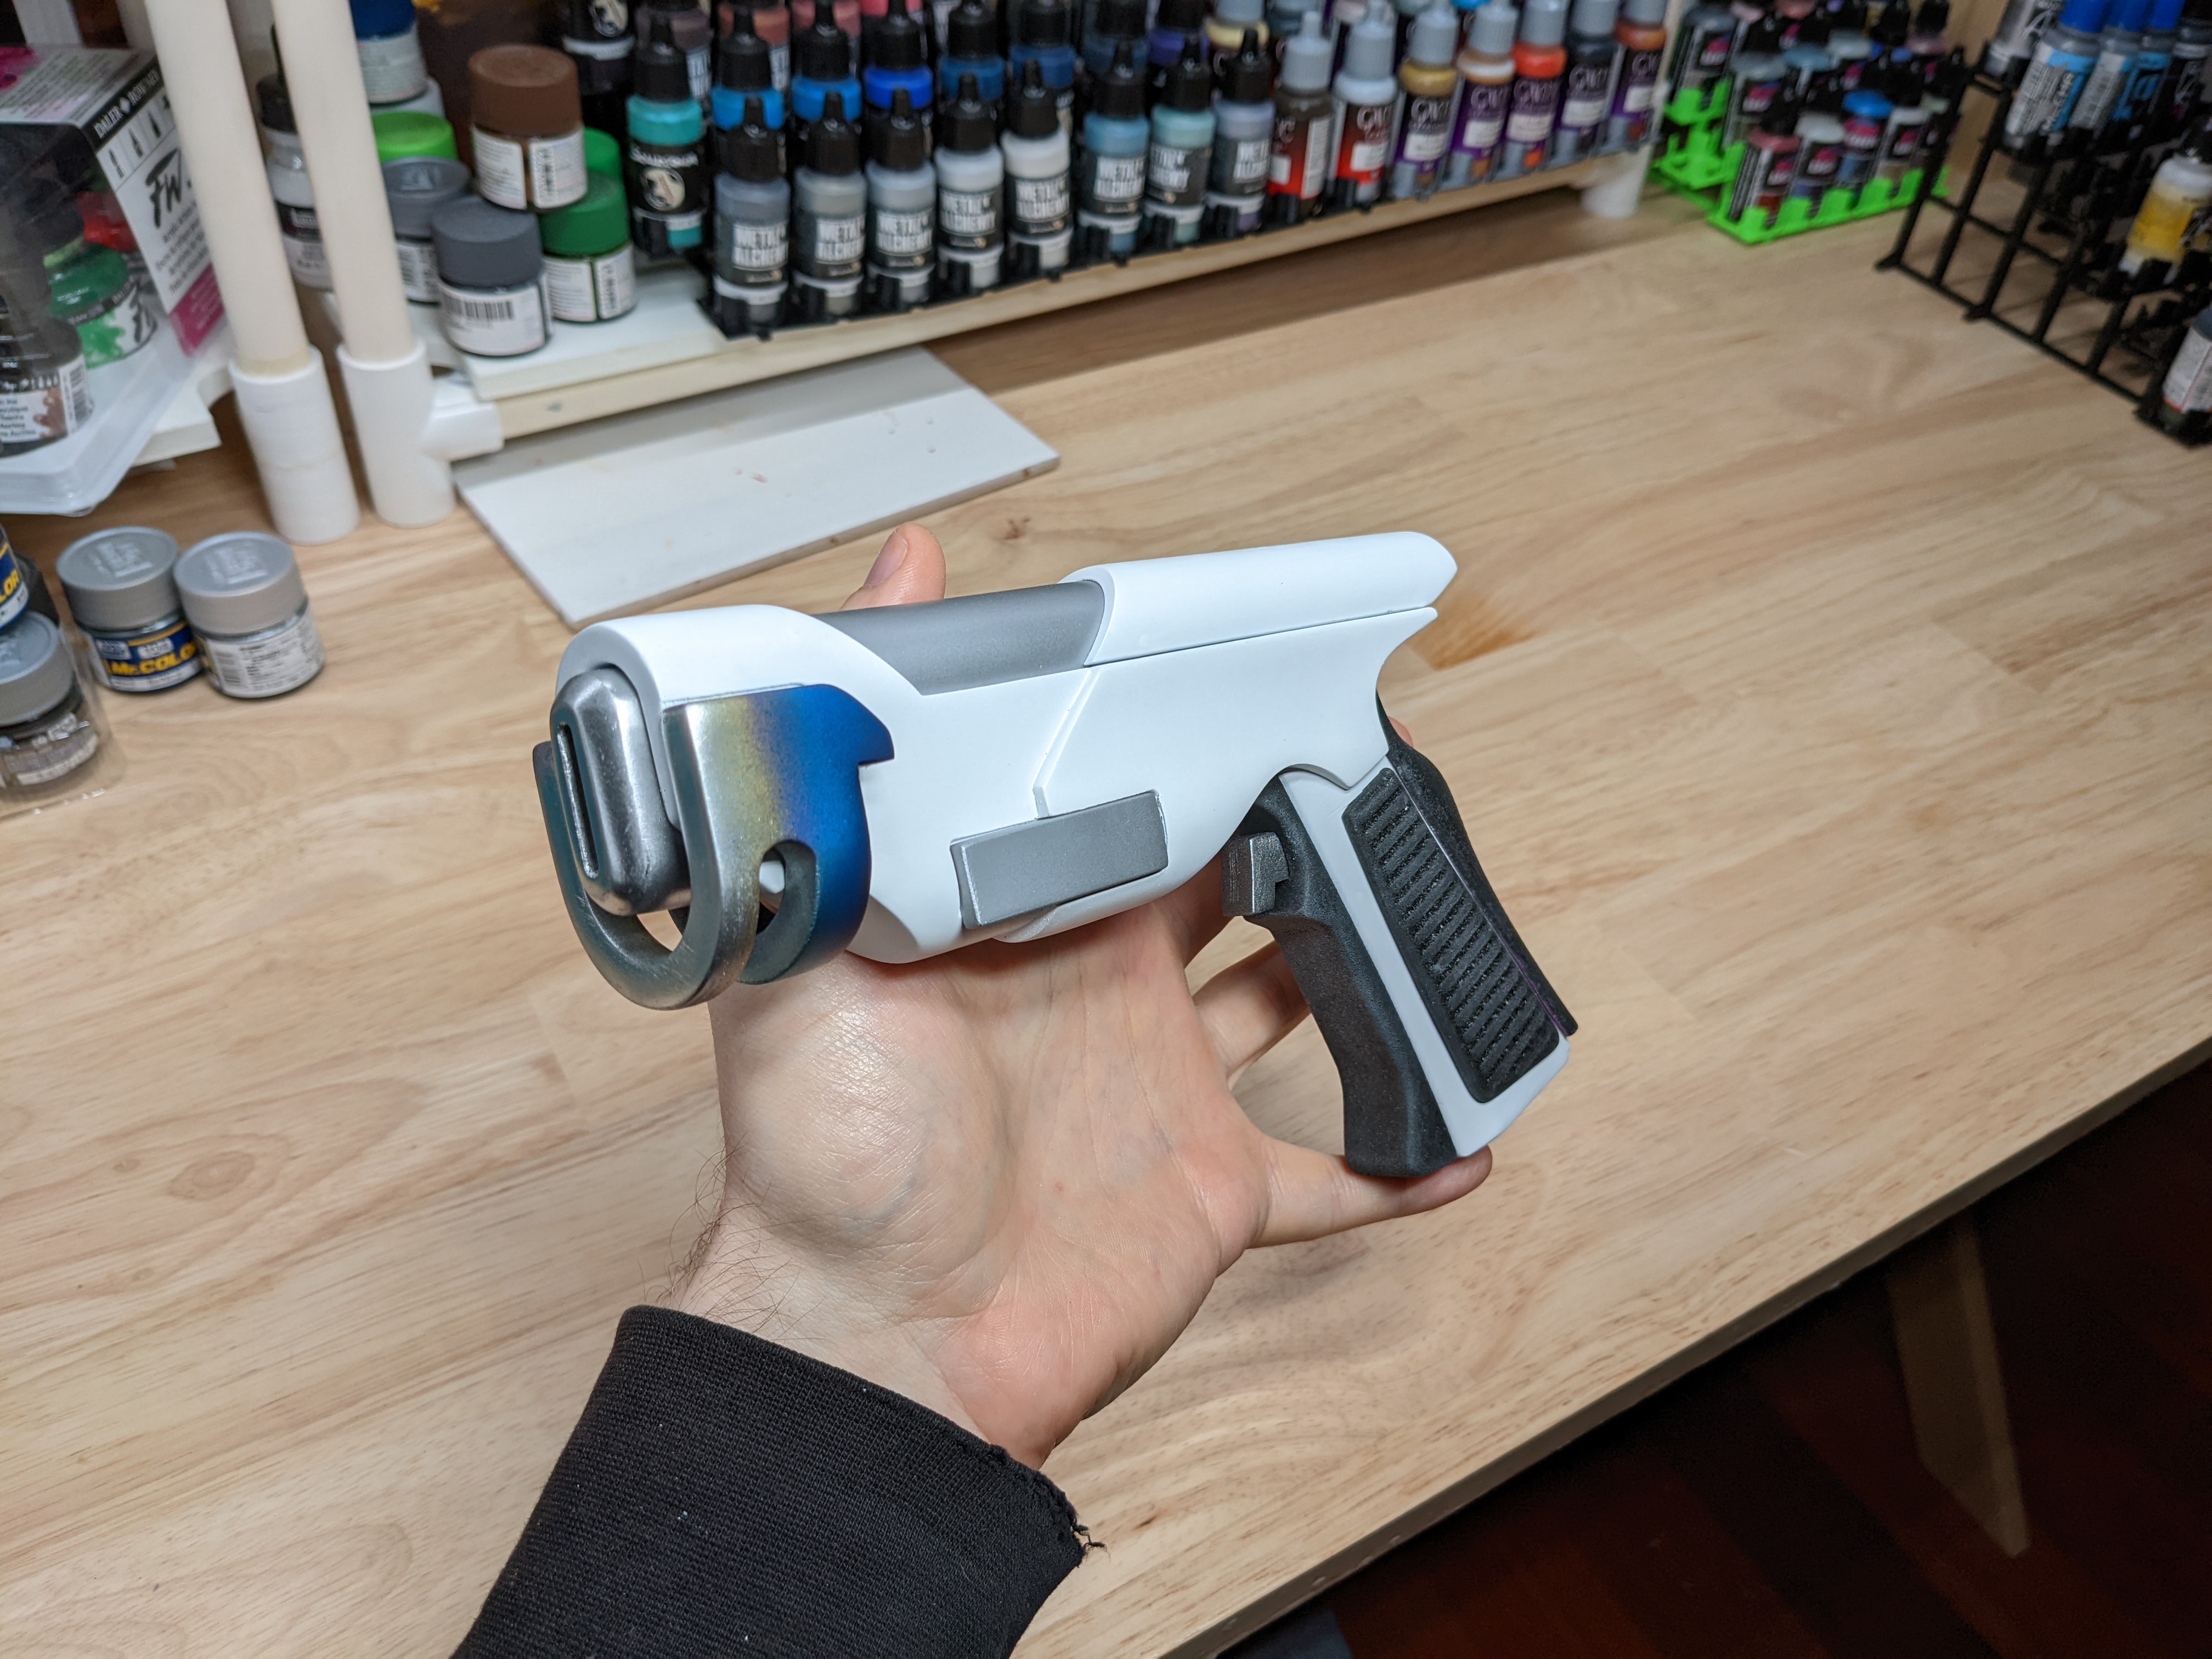
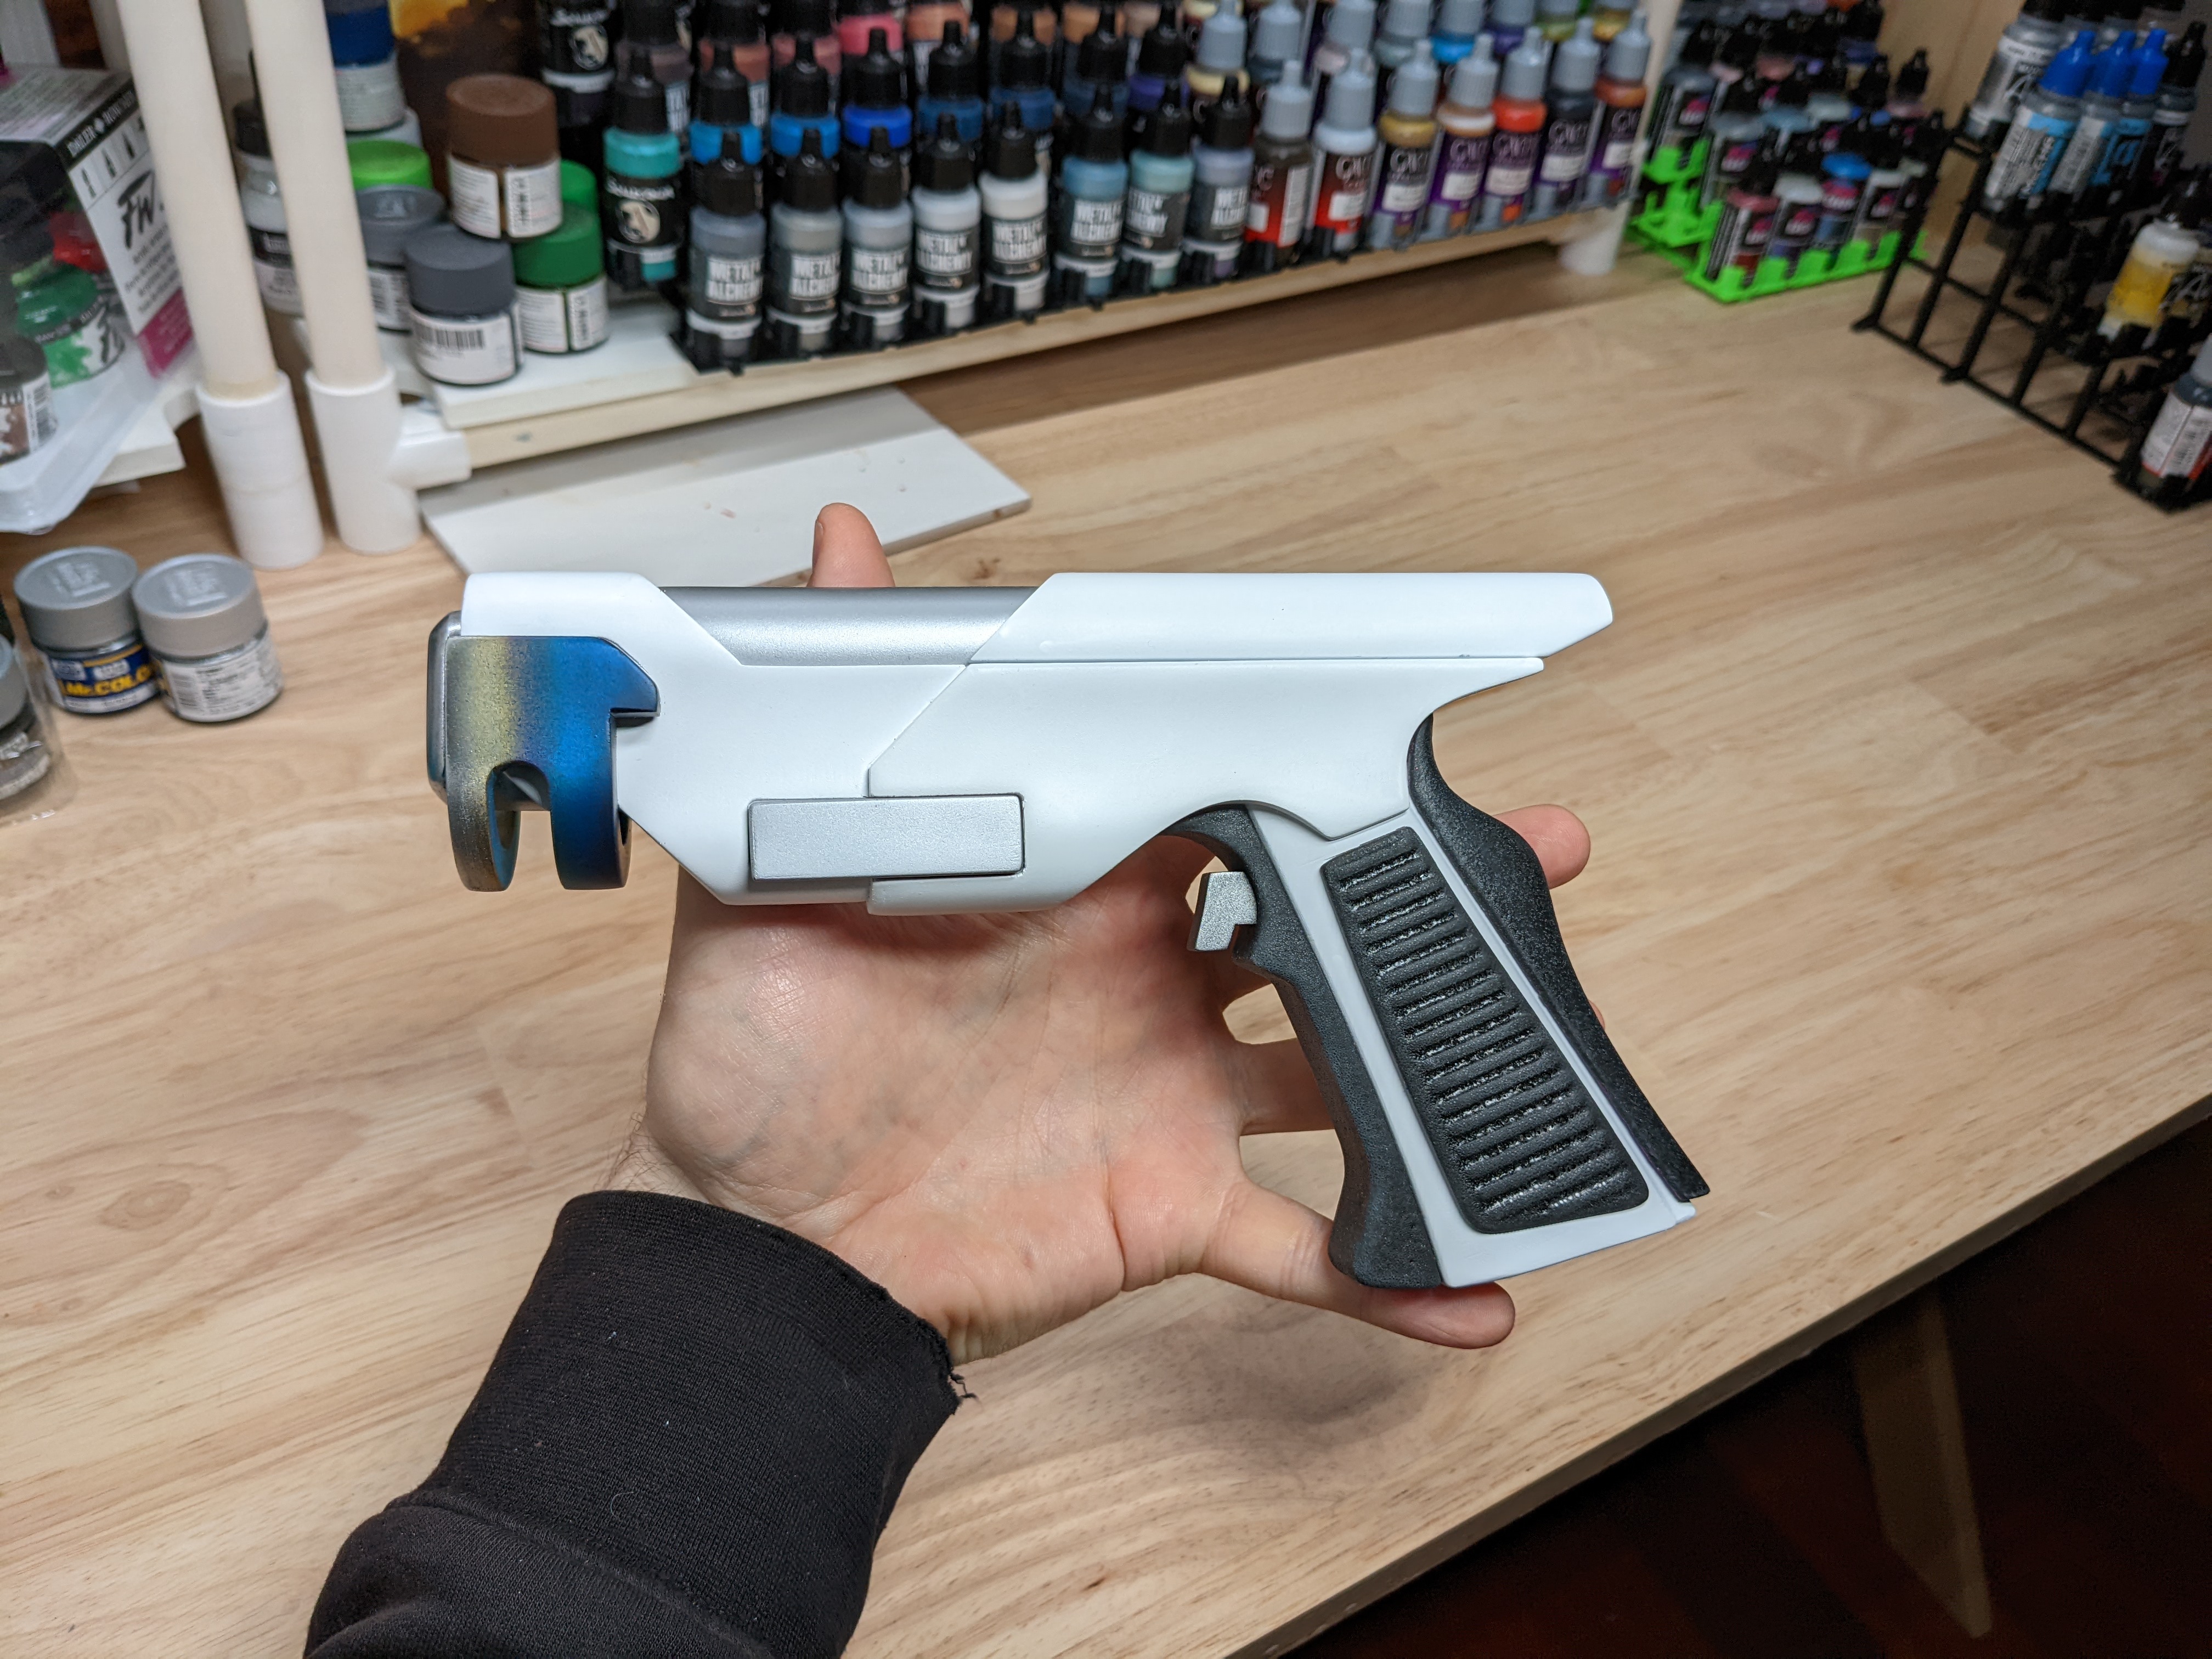
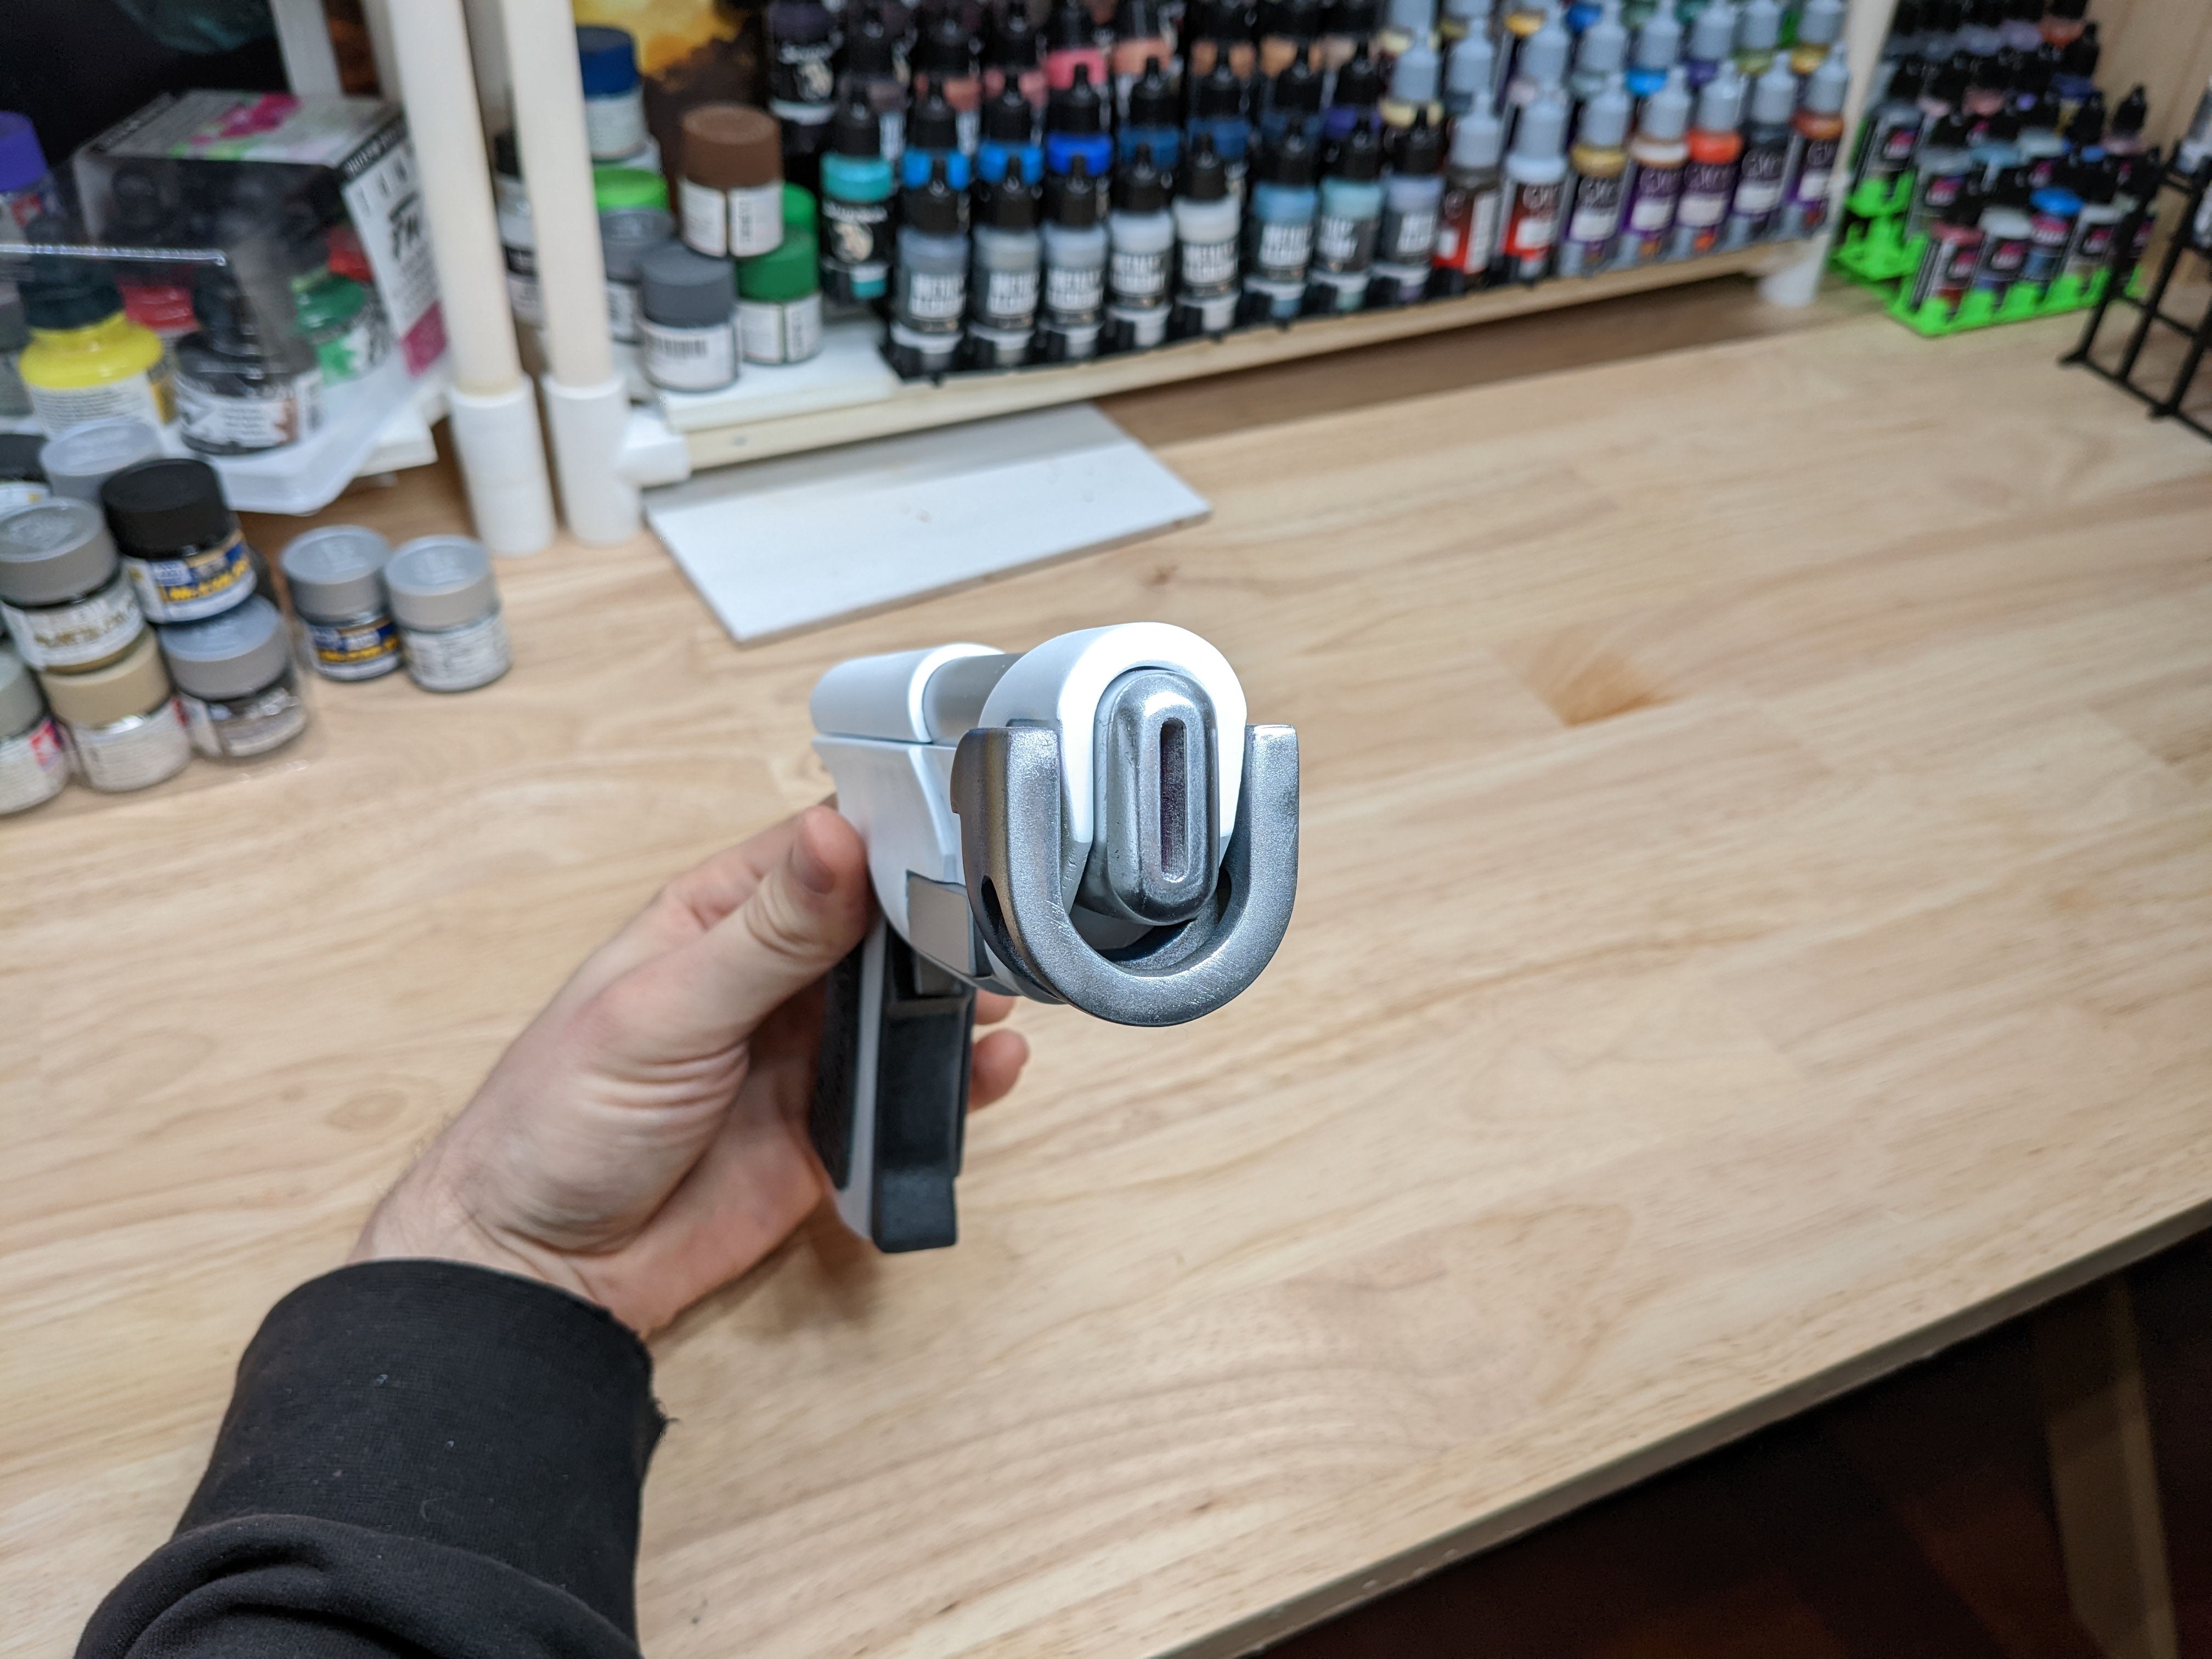
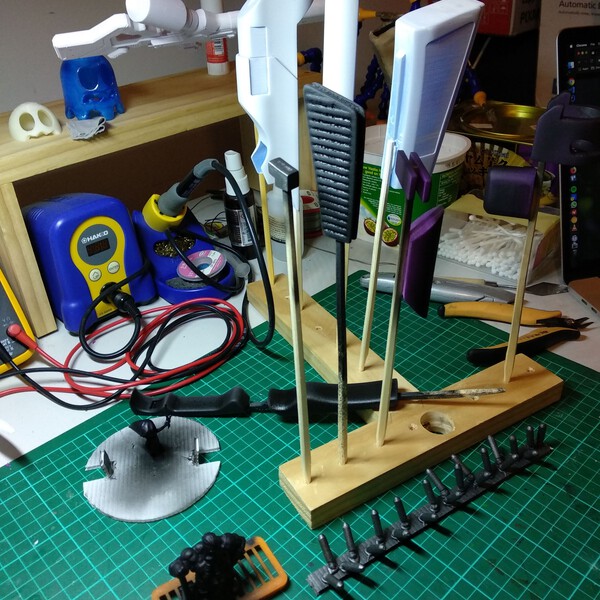
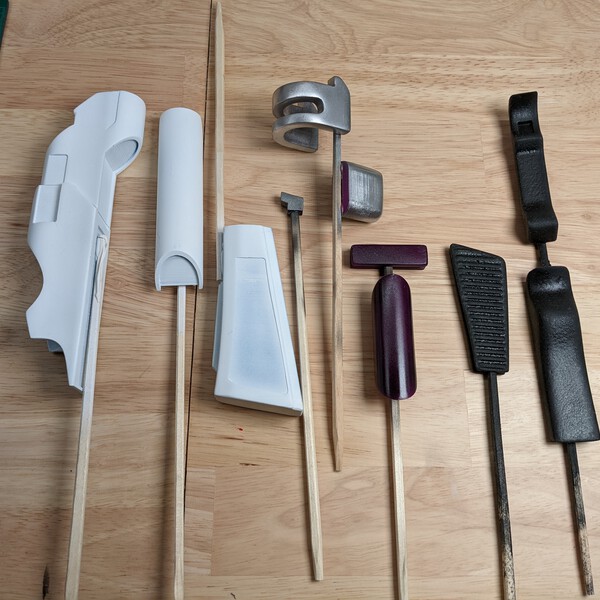
Painting
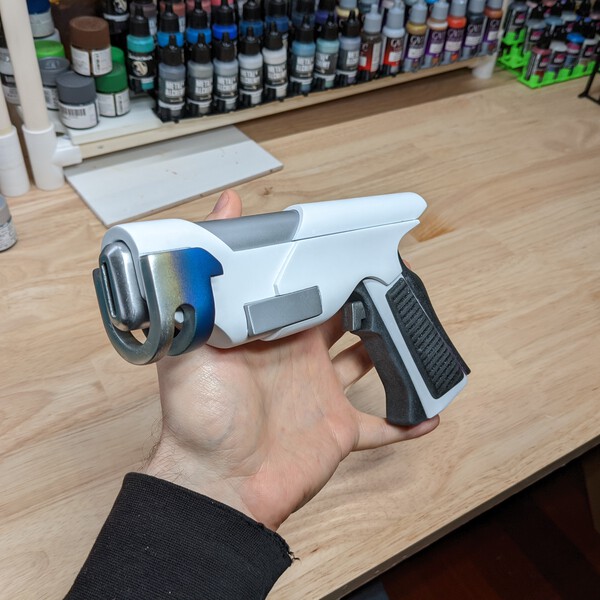
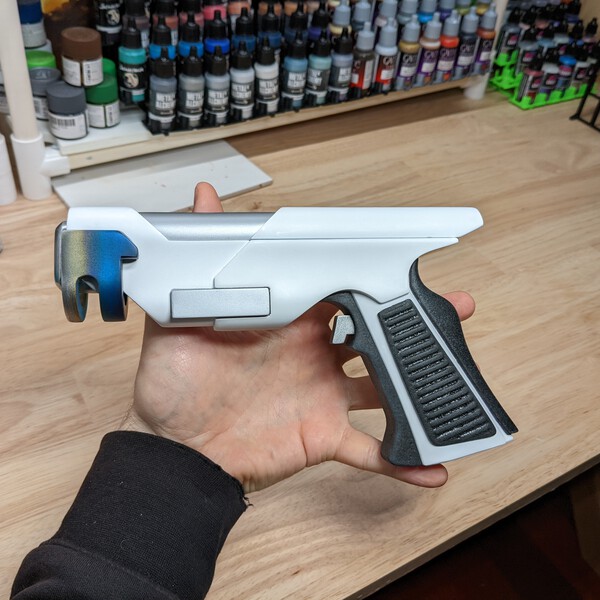
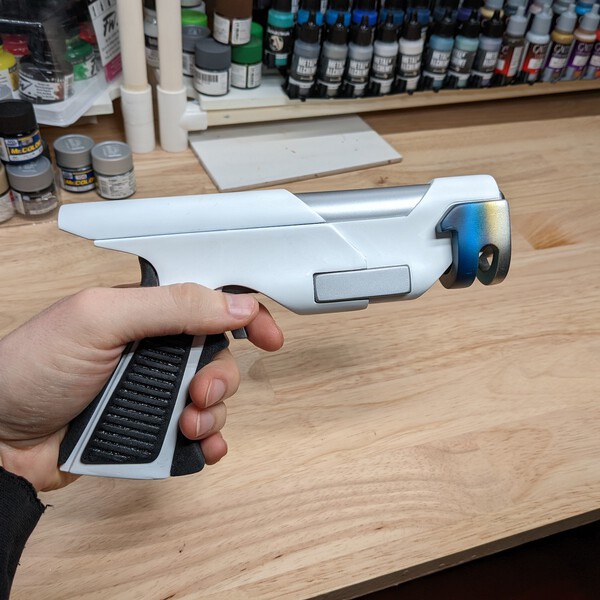
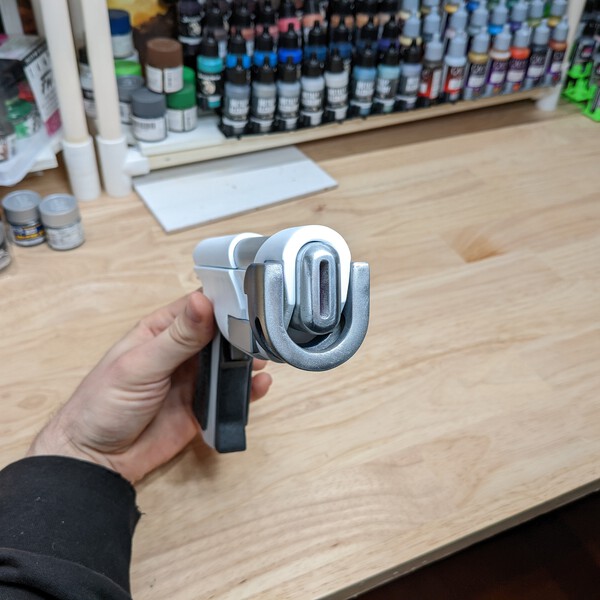
As you can see I haven't been done with it just yet. White is notoriously hard to work with. All the black grip parts were sprayed with Plasti Dip.
Result
I've done almost all the remaining steps. The one last one is to do some gloss varnish on white and silver.